Blog, Earth Plaster, Lime Plaster, Natural Plaster, Tadelakt, Workshops

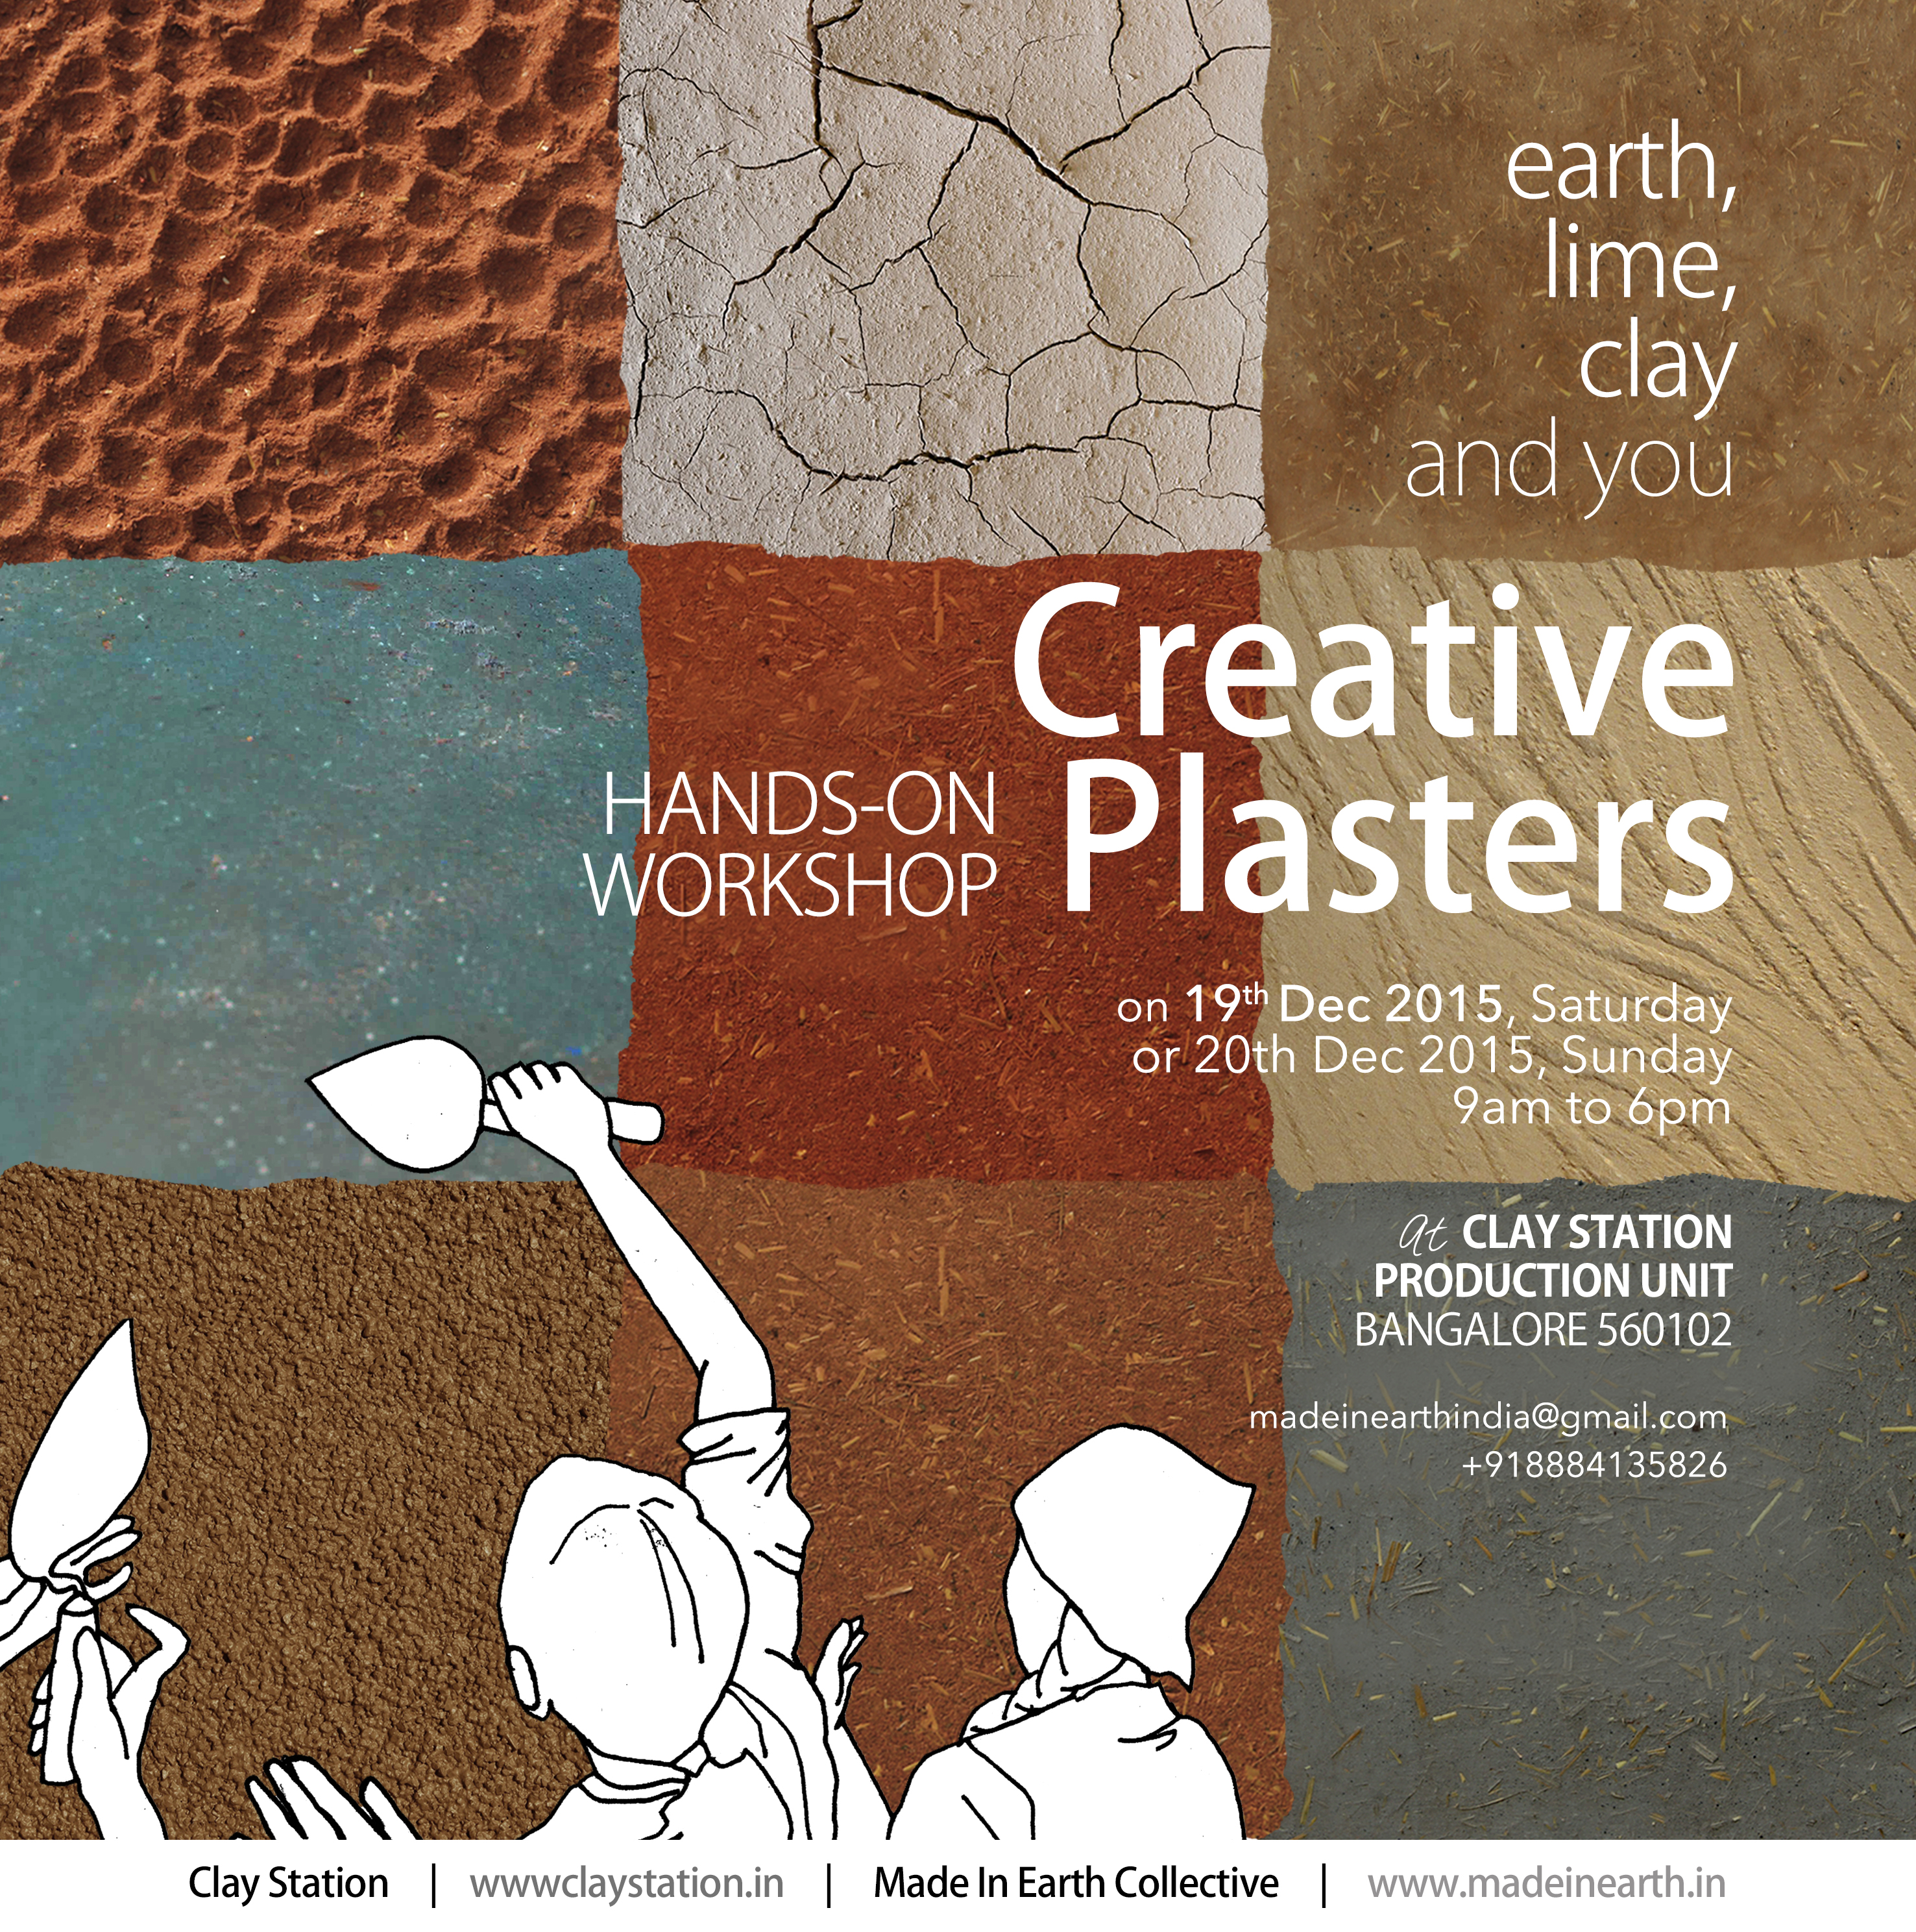
2015 Creative Plasters : earth, lime, clay … and you

banner

We are happy to announce a collaboration with Clay Station, Bangalore for the Creative Plasters Workshop. Clay Station is a space for the experienced, aspiring and recreational potter. We love earth, and so do they. Together we bring a workshop to explore with you, what we are most passionate about.


A plaster that breathes; that regulates temperature and humidity inside a building; that absorbs both noise and odors; that ages beautifully with time. Add to that the infinite possibilities in aesthetics; pigmented or plain, smooth or grainy, regular or patterned, contemporary or rustic; natural plaster is irresistible!

Earth is the most widely available natural building material. It uses little or no energy in processing. It’s incredible plasticity, ecological and aesthetic qualities have enabled our ancestors to use it in abundance to build their homes, and in perfect harmony with their environment. Earth plaster, unlike paints and chemical coatings, do not emit any volatile components which could be harmful to our health. Being locally sourced, earth plasters reduce the environmental impact of our construction.

All over the world, there exists an incredible diversity of traditional recipes of natural plaster. It is this diversity of ingredients married with the many possibilities of textures and colors offered by the land, that is at the origin of this workshop.

Anybody can create natural plasters, together with the soil of their place, a dose of creativity, a trowel of motivation and a bit of experience! A place for experimentation, exhibition and knowledge sharing, the Creative Plasters workshop invites you to Clay Station for a one day hands-on session on the 19th or 20th of December 2015

Come and learn with us!

What will you learn?

Prepare, test and apply earth plasters (raw and stabilised) | Wall preparation | Base plaster | Finishing plaster | Decoration, plaster carving, embossing, use of color oxides and pigments | Discover and try the traditional Moroccan Tadelakt technique, a fine richly coloured water-proof plaster.

Prerequisites

Earth construction is for all! No requisite except the motivation to learn and the desire to play with the material.

The Program

One day workshop on the 19th or 20th of December 2015
from 9:00 am to 06:00 pm, lunch included.

The venue

The workshop will take place in the production facility of “Clay Station”

Clay station production unit,
L75, 15th cross, near Indian Bank
HSR layout, Bangalore 56 0102

Google map : https://goo.gl/maps/rL9up9jvxtB2
GPS coordinates : 12.914055, 77.630304
Equipment and material
Dress to get dirty! Bring a round smooth stone for the Tadelakt technique

Registration and fees

Maximum 20 participants on a first come first served basis
Fees : 2000 Rs  (1200 Rs for students, please send a scan of your student ID card, to : madeinearthindia@gmail.com )

ONLINE REGISTRATION FORM  : http://tinyurl.com/151219-PlasterWorkshop
Registration closes on the 14th of December.

Contact

madeinearthindia [at] gmail.com

Organisers

Clay Station www.claystation.in

Clay_Station_logo
Made In Earth Collective www.madeinearth.in

MIE logo-full


2014 Restoration of a countryside home, France, Adobe, Blog, Earth Floors, Earth Plaster, Lime Plaster, Natural Plaster, Tadelakt

Making an earthen floor

Most people often remember earth as a crude material; it’s plain looks that are so contrasting from the aesthetics of finished industrial products. But the irony is that the principle virtue of this material lies in its aesthetics, one that is natural, subtle and simple, adapting itself to the diversity of techniques, cultural aspirations and skills; sometimes in response to tradition, while sometimes contemporary. Along with the artisans from Inventerre, we used earth for a completely different purpose…earthen floors! Today we tell you how it was made :
1-Earth Floor

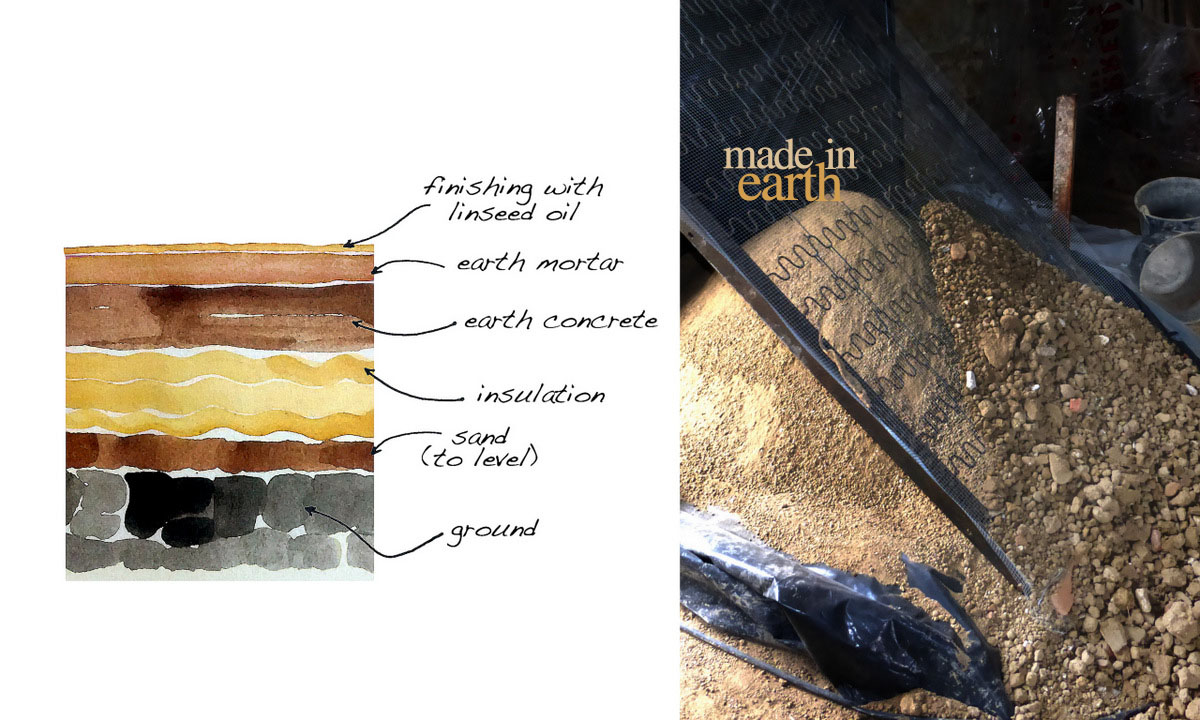
You are probably wondering : “Which layer did they stabilize? Where is the cement?”. There is no cement, no lime, no bitumen! Only earth and linseed oil!
1. First the floor was dug and leveled with a layer of 3 to 5cm of sand.

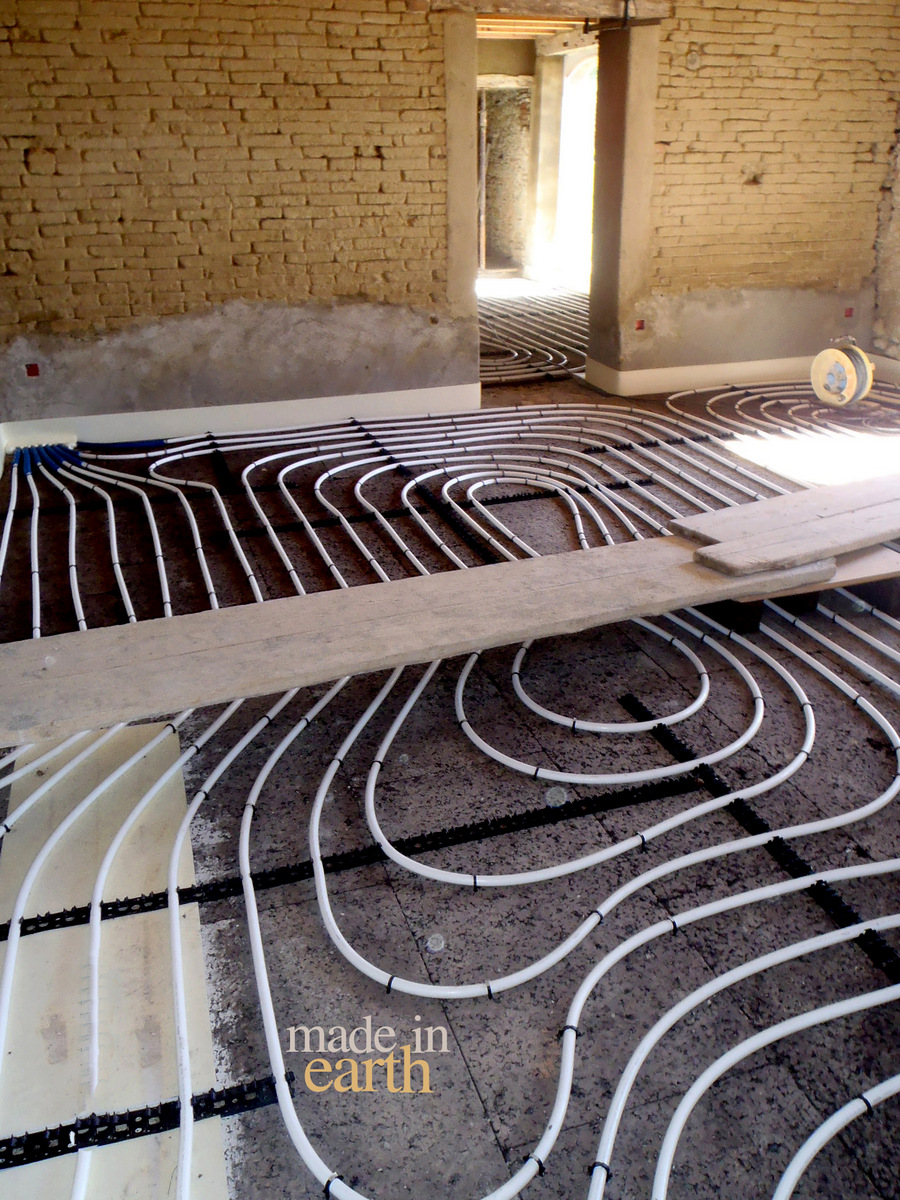
2. Next, a 10 cm of cork board was laid for insulation purpose. Cork is a very interesting material in Europe for foundations since it is water proof, resistant to humidity and dense enough to carry some weight.

Earth Floor

The building heating system is done through the floor. Pipes are fixed on top of the cork and will be “trapped” in the slab to get the best inertia. As you can see on the photo a compression seal was also laid at the point of contact between the slab and the wall to avoid cracks and movement due to the changes of temperature of the floor complex.

3. Then comes the earth concrete. There is a debate with the word “Concrete”, we like to say that concrete is just a mix of aggregate together with a bonding agent and water. Therefore earth mixed with water is a concrete. Clay particles play the role of holding the aggregate together to form an solid mass.

Several layers of 5 cm mix were applied and then rammed to reach a final slab thickness of 11cm. The mix is composed of : 3 vol of calcareous gravel + 2 vol of earth + minimum of water to reach a semi-plastic state. Each layer is rammed by feet first and then with a ramming machine.

Water is your best friend and your worst enemy when building with earth. Put little less and you won’t get any cohesion, put a little extra and you will have fissures. Even though we put a minimum amount of water, we had to wait 3 months for the entire volume to dry! It is not like cement which will react with the water, here most of the water needs to evaporate till the earth mix has found its water balance with the surrounding materials and the air.

Laying an earth floor

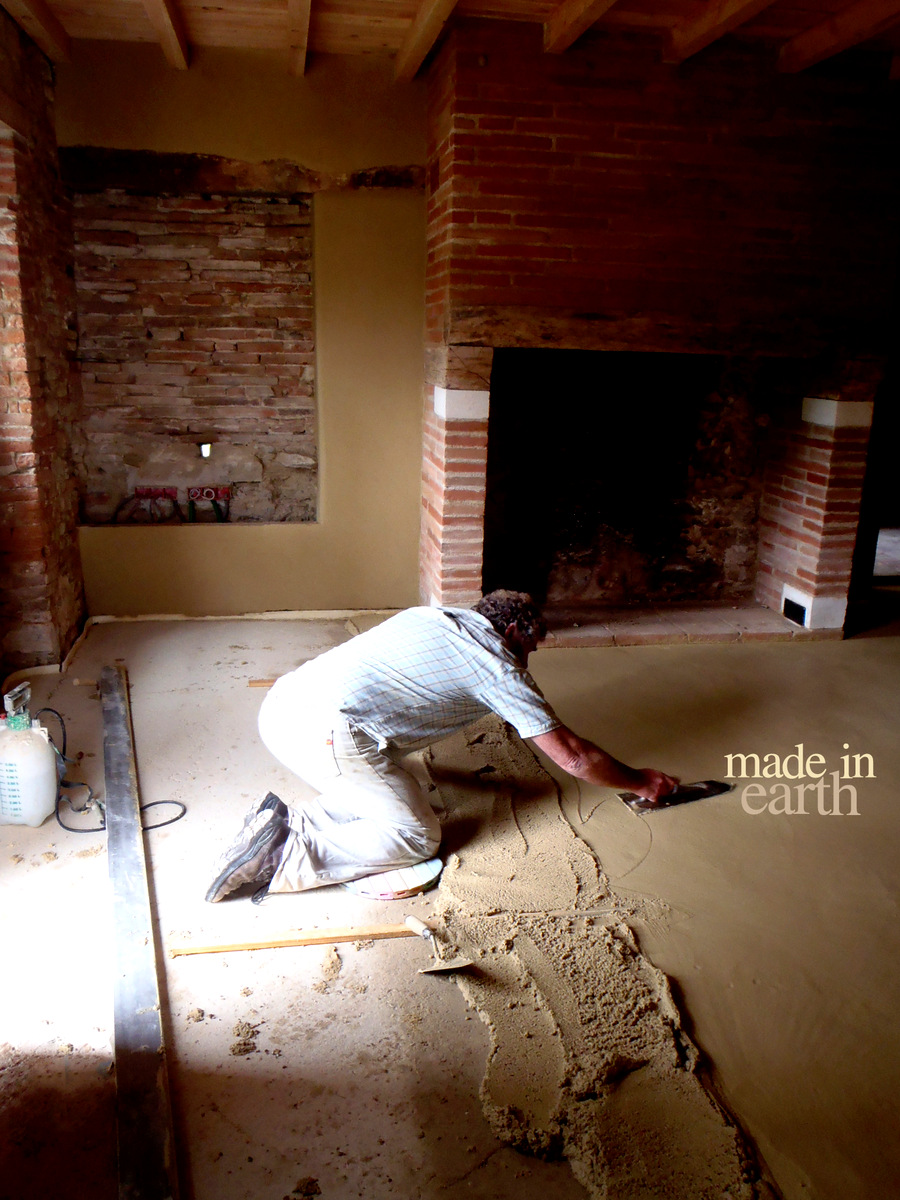
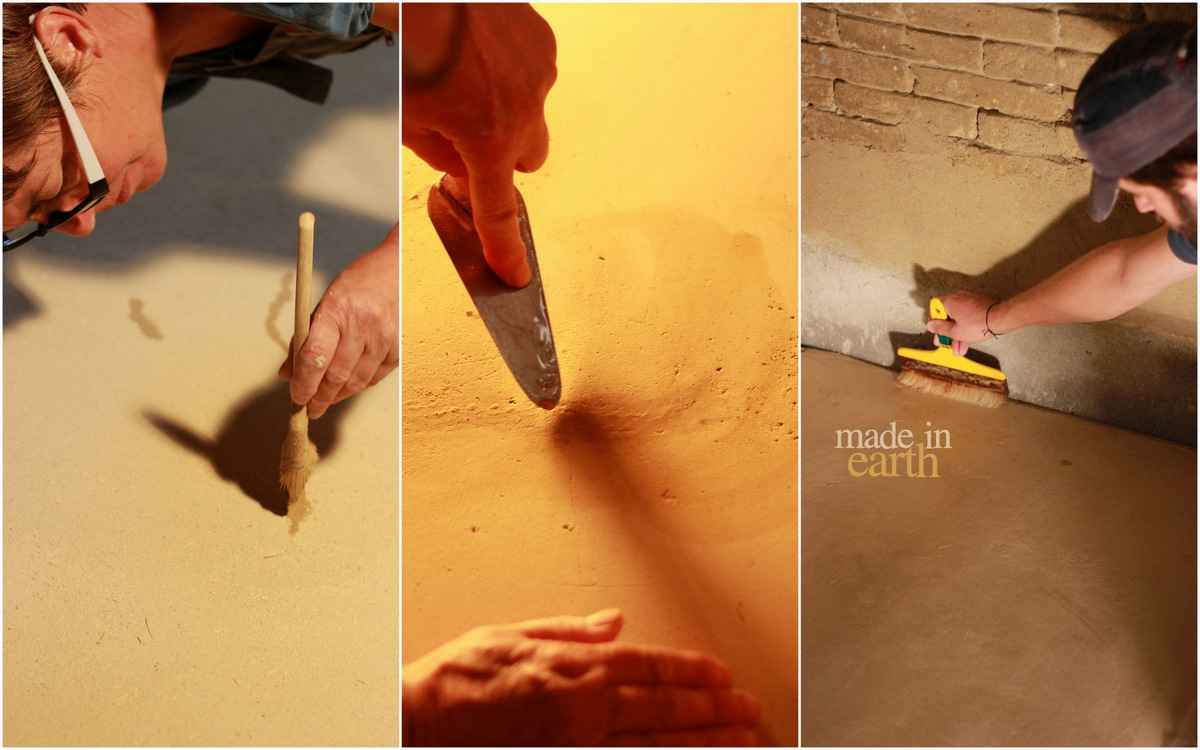
4. The earth mortar is the final layer. It is around 1.5 to 2cm thick and is composed of 4 volumes of calcareous sand (0/4) and 1 volume of earth. It is the layer that will be seen and needs to be “perfect”, the slightest crack is filled and fixed before the final coating.

Finishes

Earth floor laying

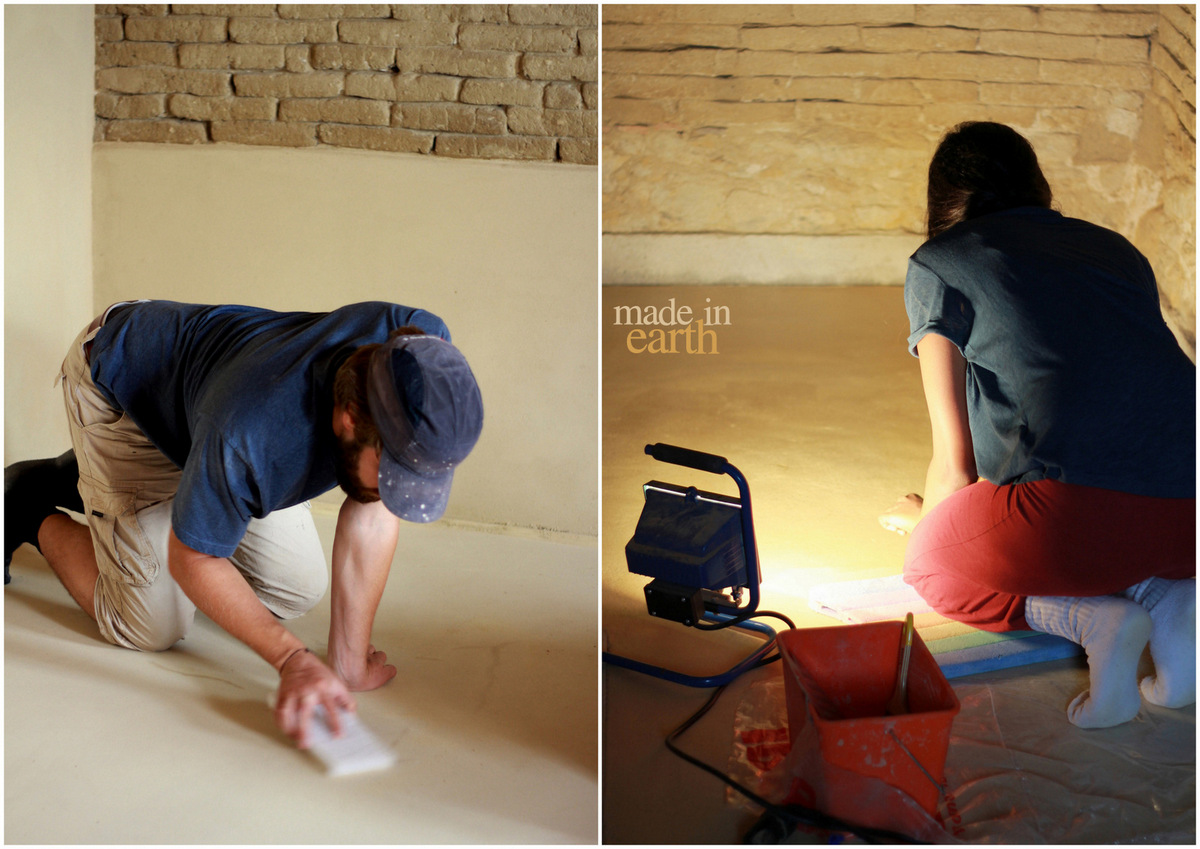
5. Linseed oil is then applied 4 to 5 times to give rigidity to the floor surface and to make it water proof.

Je and shru

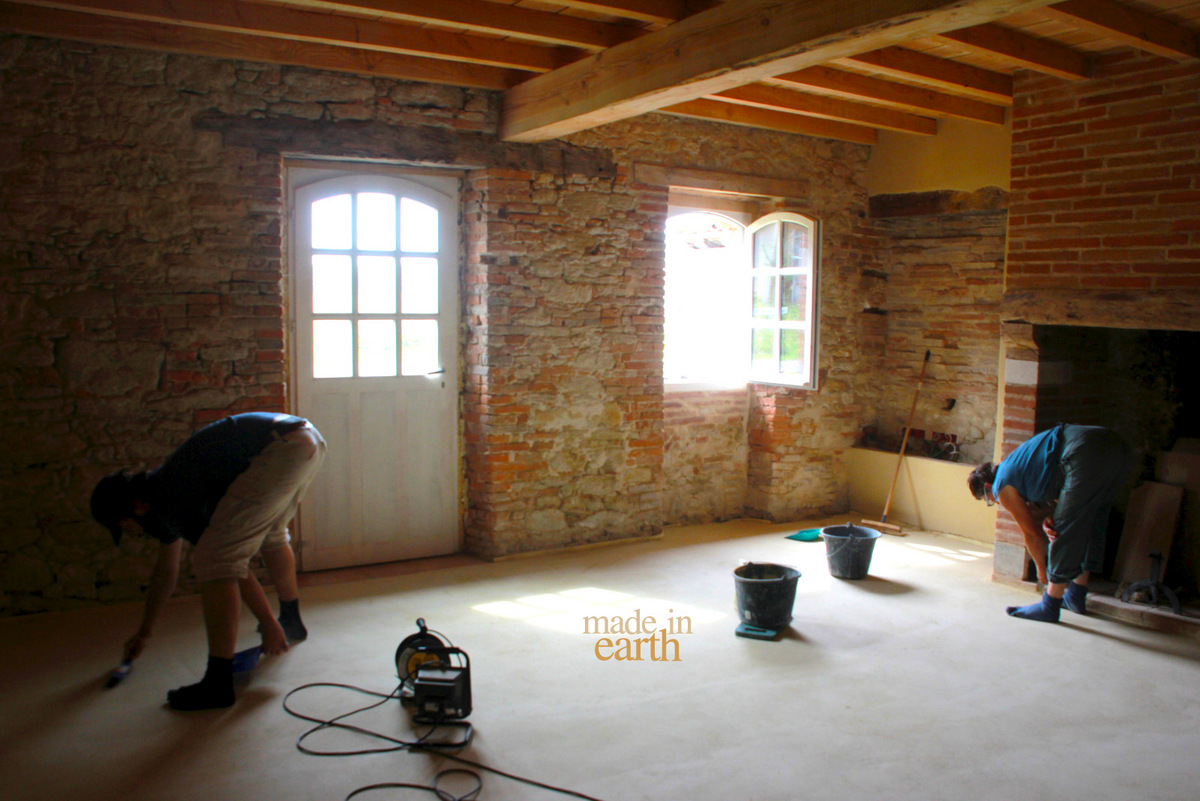
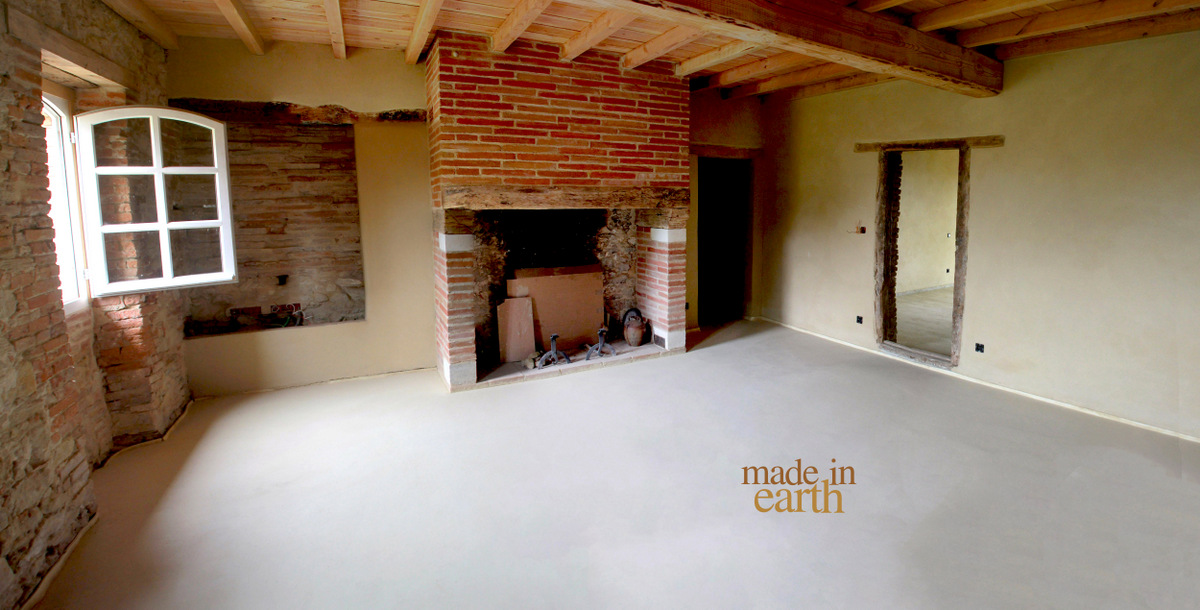
It is impressive to see that after applying the layers of oil, you can wipe the flour with a wet mop without altering the surface at all! Here is the final result!

7-Untitled_Panorama1

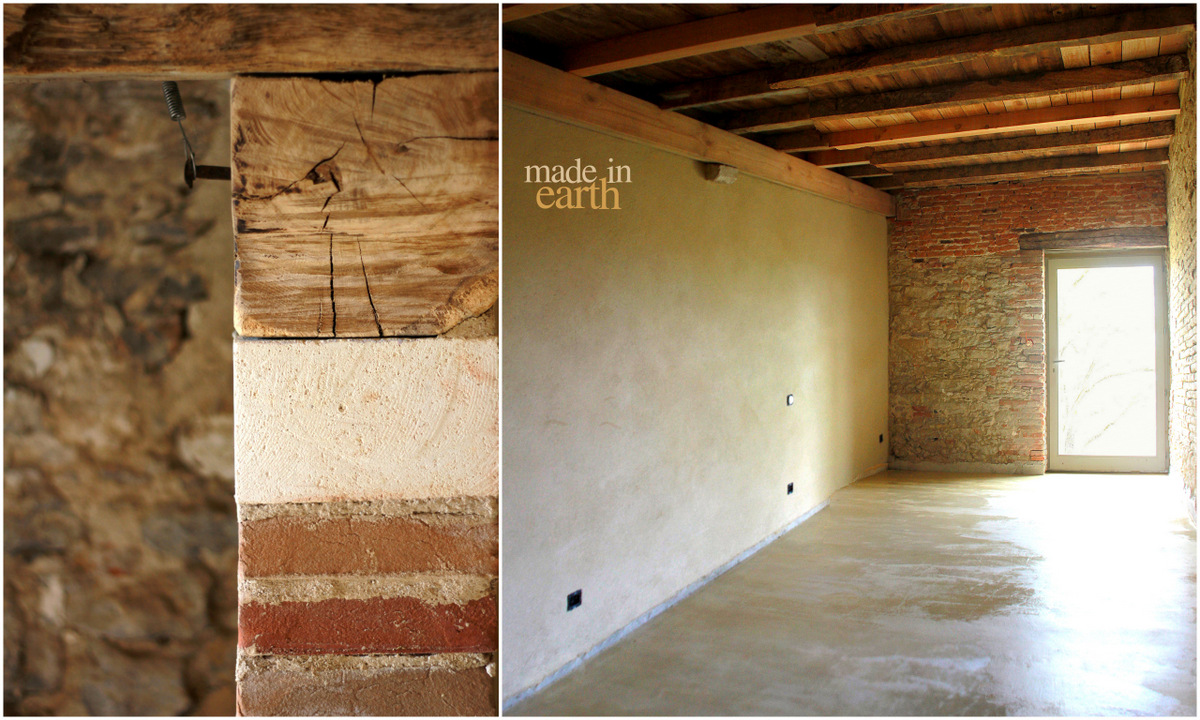
This is a restoration project of an old countryside house. The restored adobes, stone and cooked bricks and the wood are brought beautifully together by the earthen floor.

6-madeinearthband1

You have to really want an earth floor in your house. It may be most ideal for living areas, reading rooms or bedrooms while kitchens and other wet areas could be a challenge. Remember that having an earth floor in any part of your house requires a special attention. It is sensitive to shocks and point load. The linseed oil coat has to be renewed every once in a while to make sure that the floor does not take any stains. If you would like more information about earth floors, please write to us

Who is Inventerre? coming up soon.