2015 Shubha Suma Farmhouse, Adobe, Blog, Earth Floors, Earth Plaster, Lime Plaster, Natural Plaster, Tadelakt

2015 Cute and Care


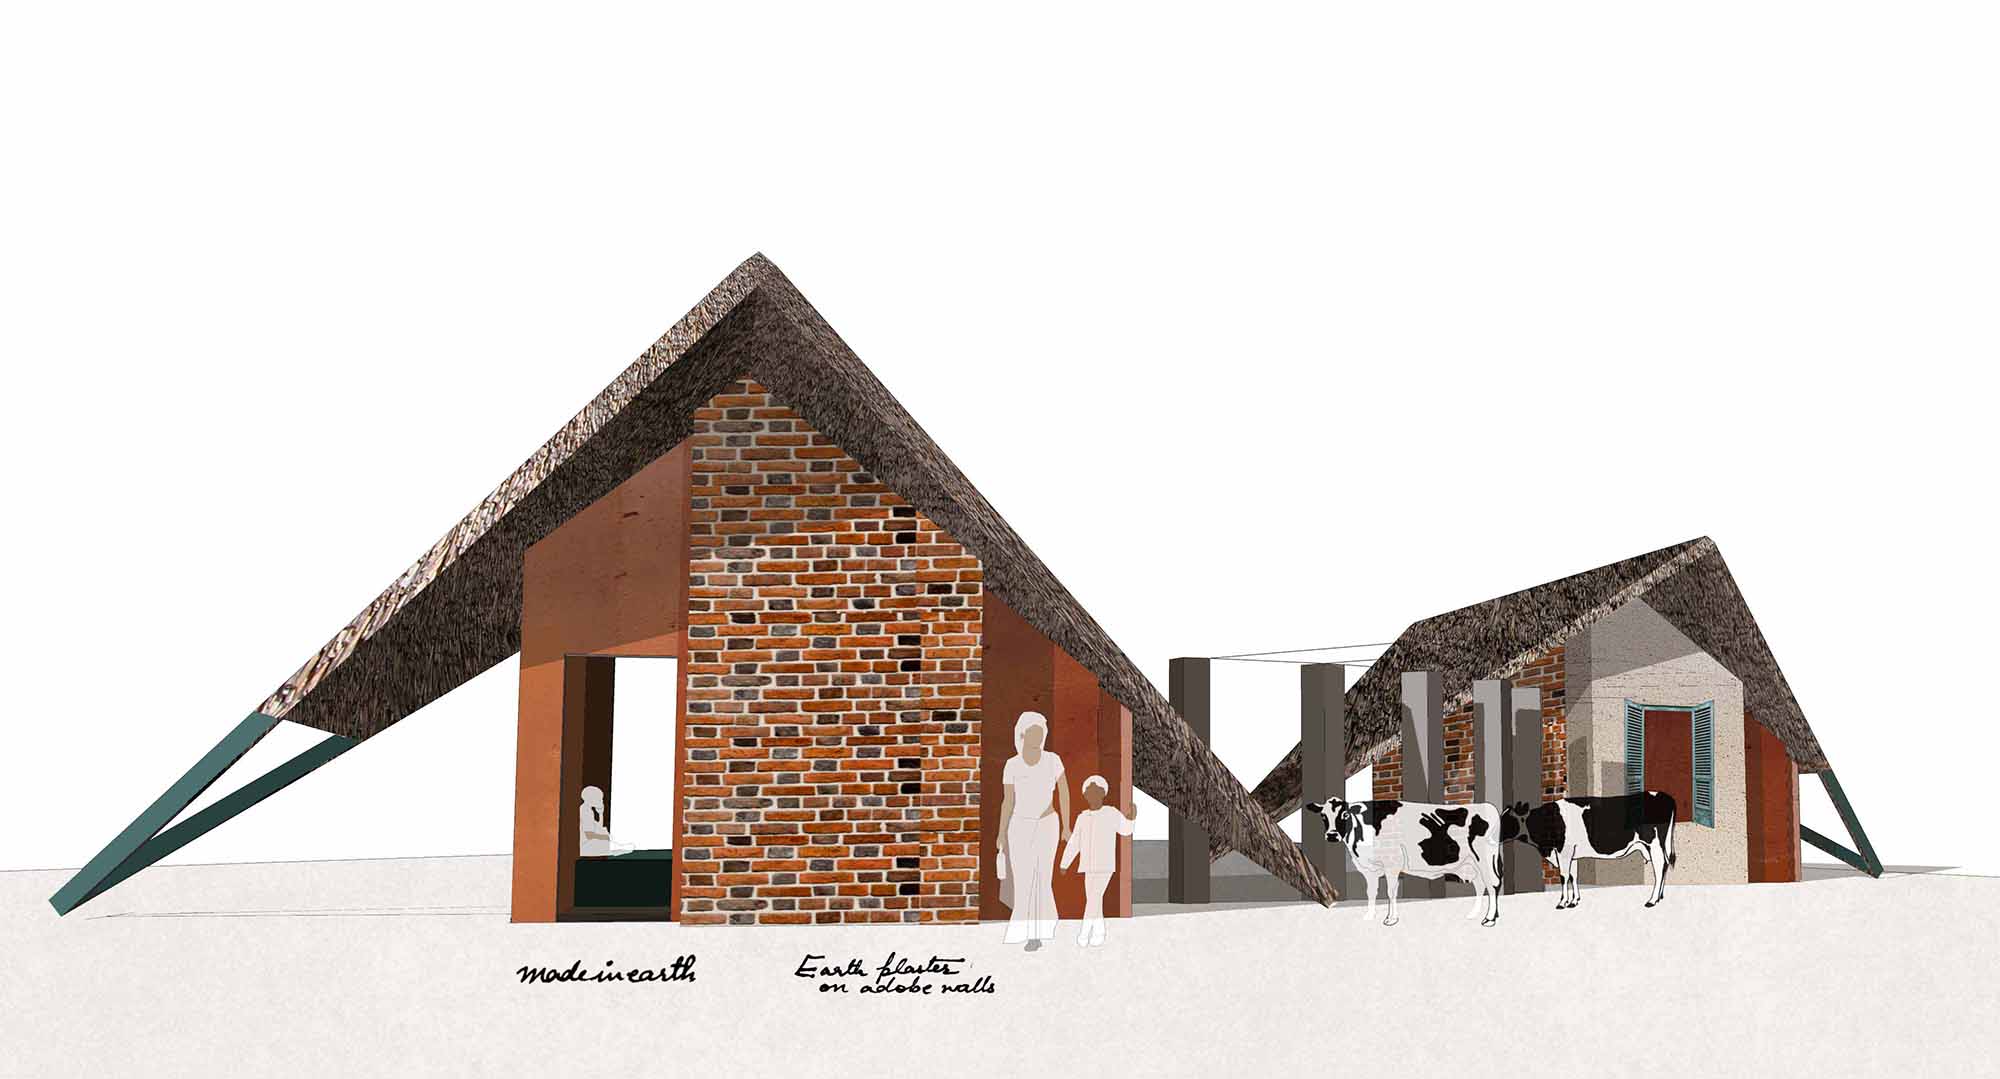
Suma and Shuba are two sisters from Bangalore with secret alter egos. They are setting up an organic farm near the small village of Seegehalli, in the outer reaches of the city. The quaint farm is a 400 m long strip of land jeweled with a row of coconut trees on either side. They dream of eventually retiring here to a quieter and more natural lifestyle. We have started to visualize the basic requirement for life on the farm. Nicknamed ‘Cute’ and ‘Care’ by our interns, the two cottages would be the first step in realising Suma and Shubha’s dream. The ‘Cute’ cottage is to accommodate the two on their weekend visits and enable them to spend more time on the farm, while the ‘Care’ cottage is to house a small family who would be present to take care of the farm at all times. It seems to us that this is the perfect place for a small adobe home, as we have wonderful soil as well as a local skill set to produce Adobes. Follow this thread to see how these designs evolve as we walk Suma and Shubha, gradually towards their dream.

2015 Cute and Care

2015 Introduction to Natural Plasters, Blog, Earth Plaster, Lime Plaster, Natural Plaster, Tadelakt, Workshops

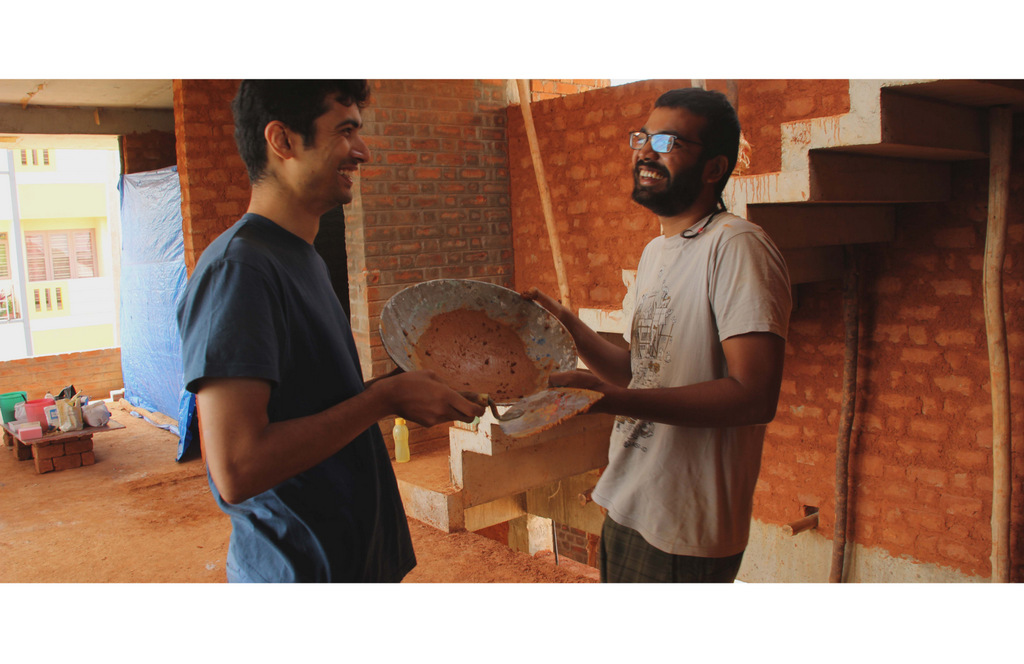
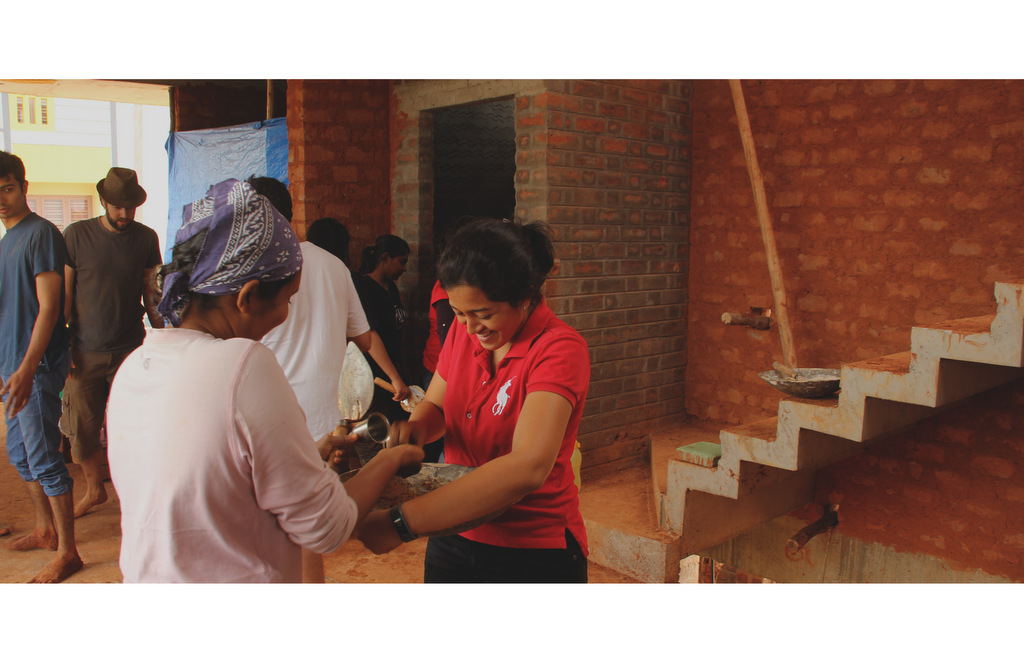
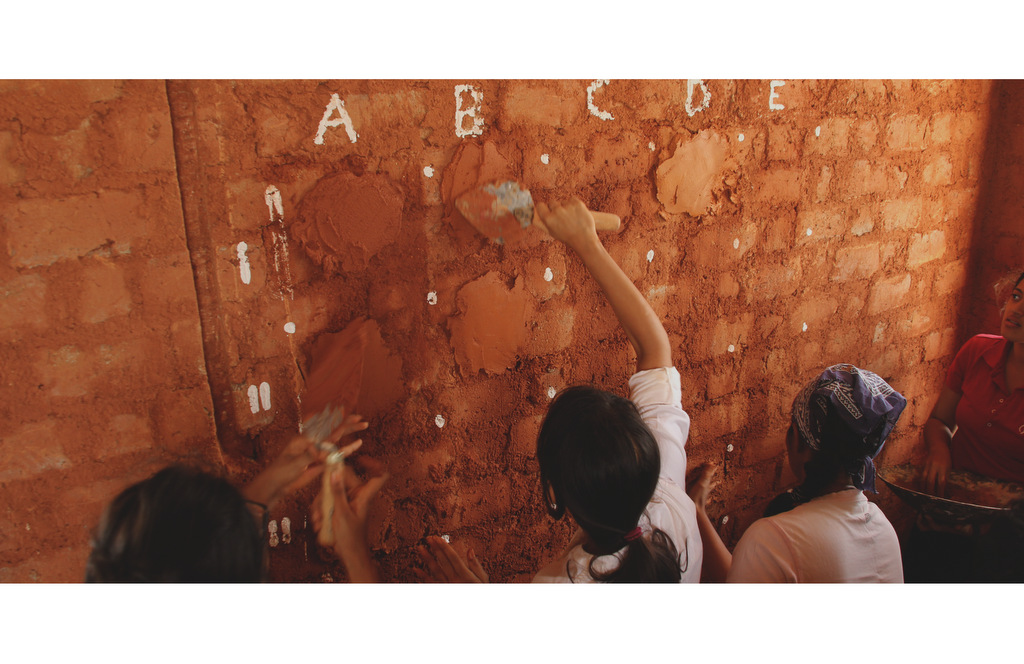
The Earth Kitchen

Hungry morning.
Cooking was yet to happen.
Ingredients were ready.
Were just waiting for all the cooks to arrive.

01-01

It was a hungry morning.
And it was no regular food fest; for one cook to cook for all.
It was something more special;
more unique and intimate, where everyone cooks;

07-32

Here we were all cooks;
trying to get the ingredients right,
for one perfect food for everyone;
with little secret spice, for individual’s taste.

1-33 08-31

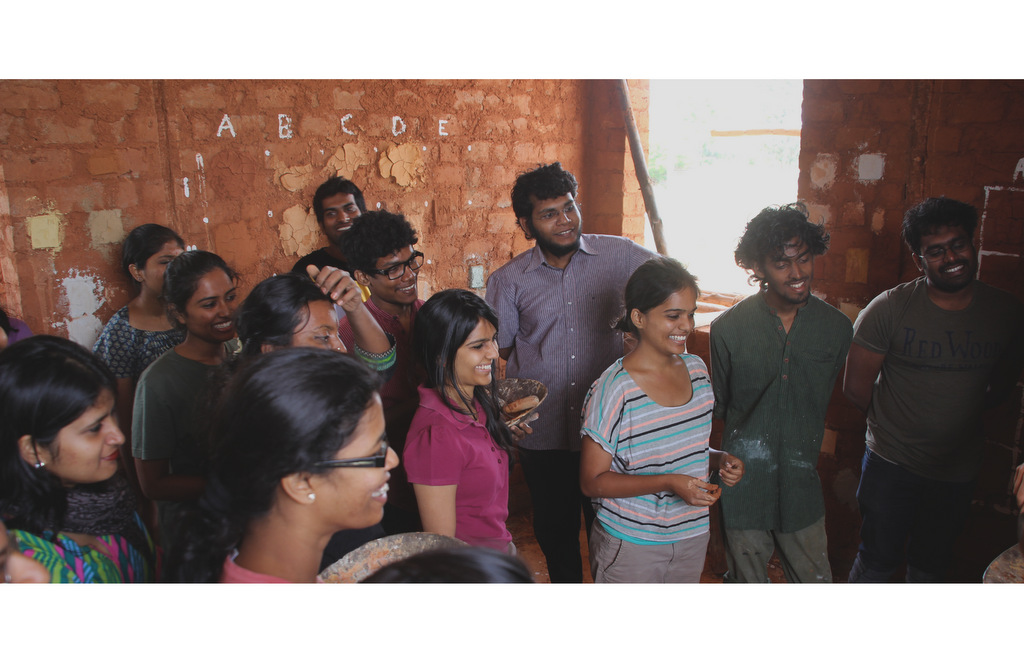
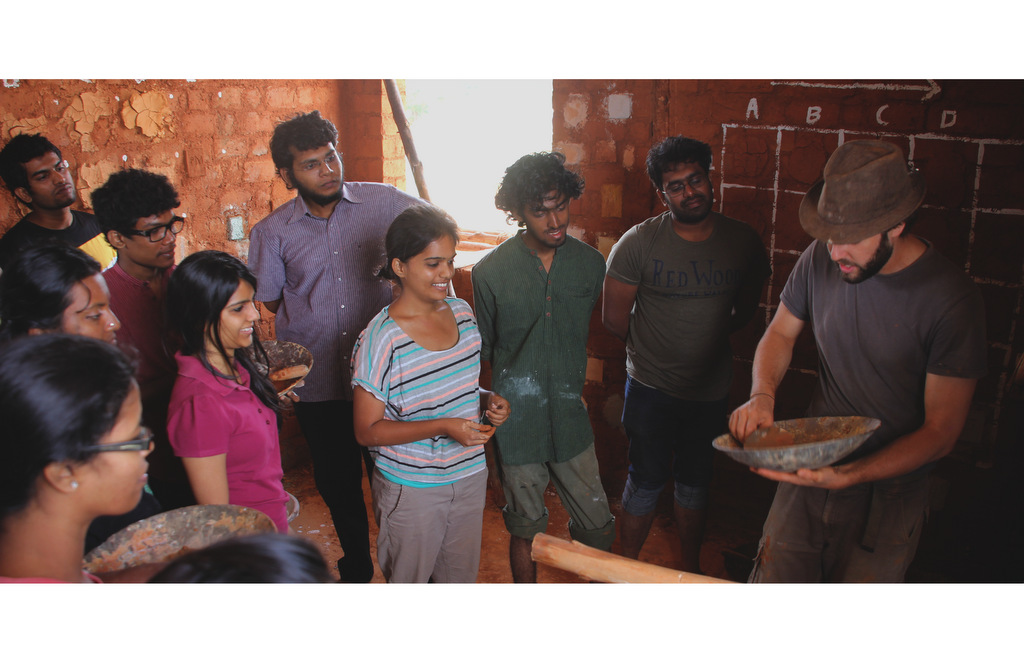
Everyone gathered at the kitchen.
The kitchen smelt different,
The smell made us more hungry; Hungry to cook
For it was no regular kitchen.

04-13

We had two master-chefs; And one master-ingredient;
We were all new to cooking; to this type of cooking;
Major ingredient was so much familiar;
Easy to play with; Easy to cook;

11-27

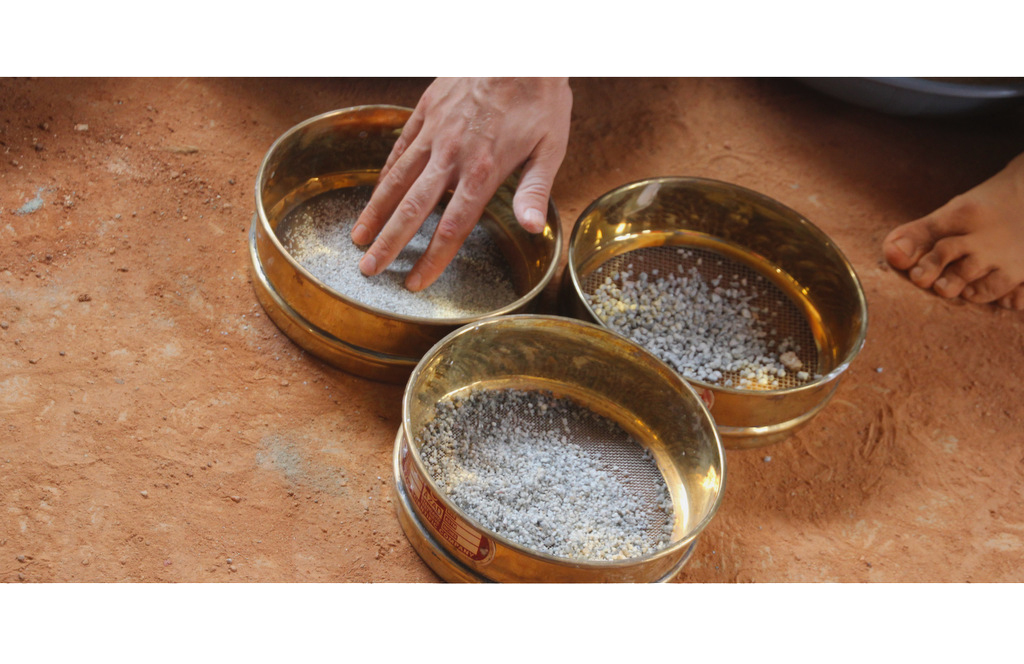
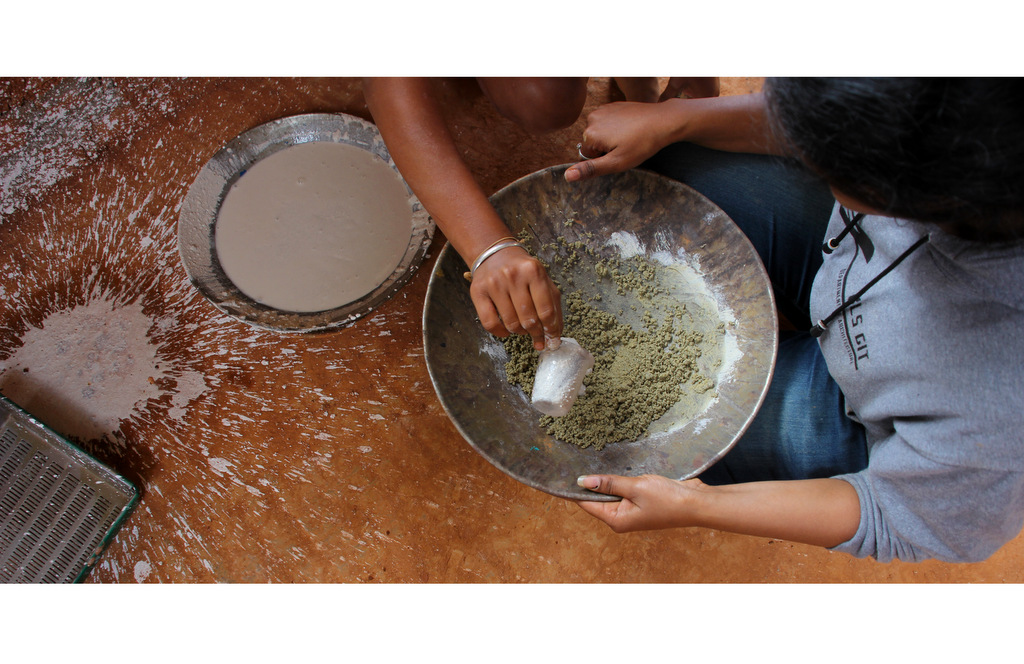
To get it ready, it needed crushing;
And careful watering, And then mixing,
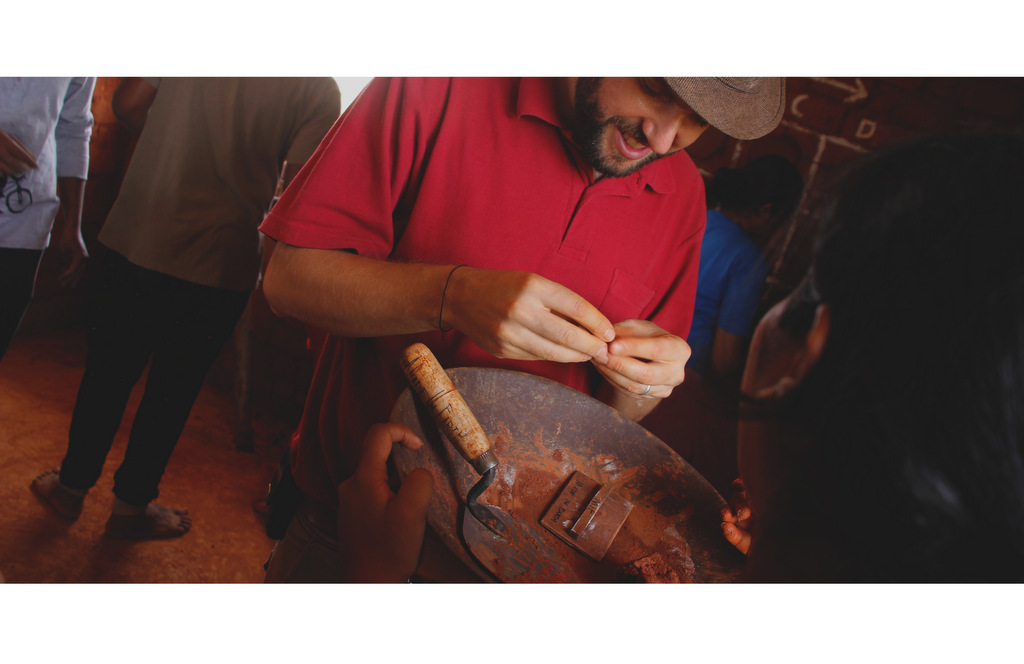
It must feel good in your fingers
For people to appreciate what we cook;

03-12 06-15

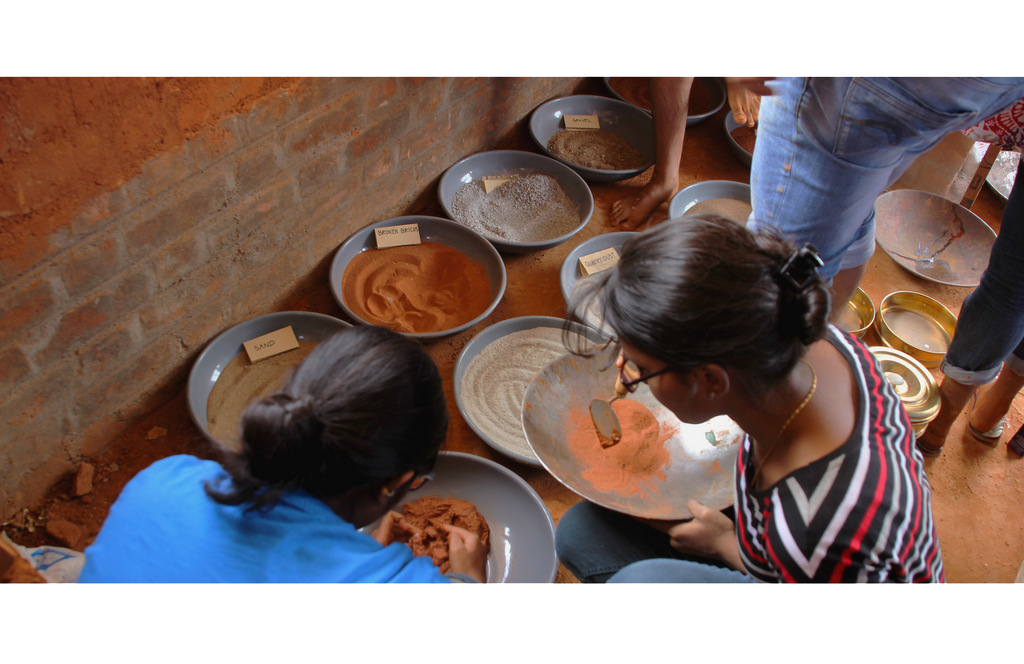
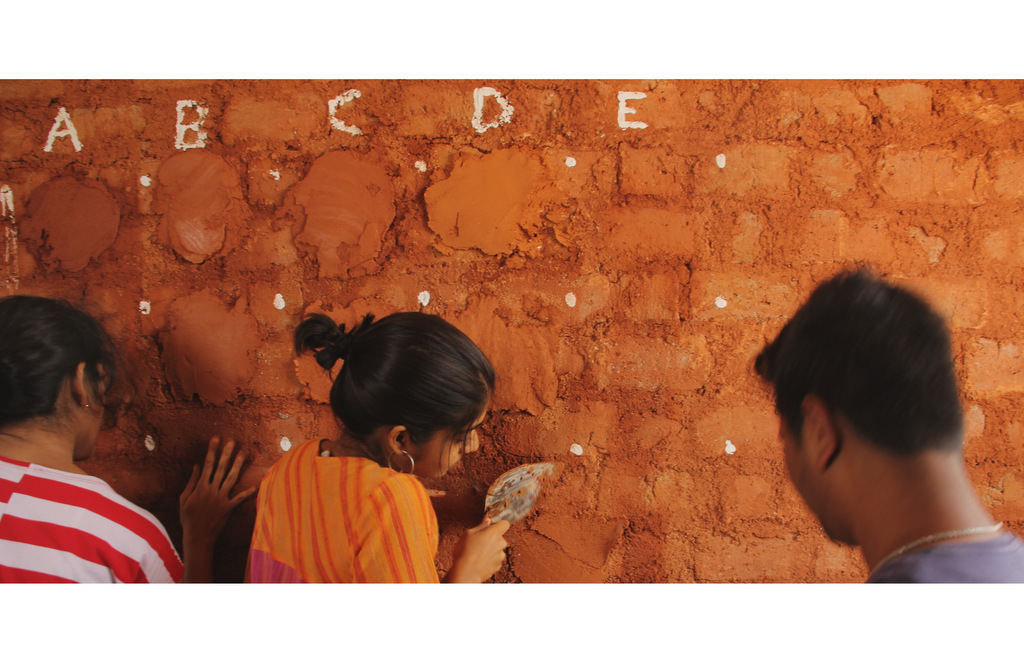
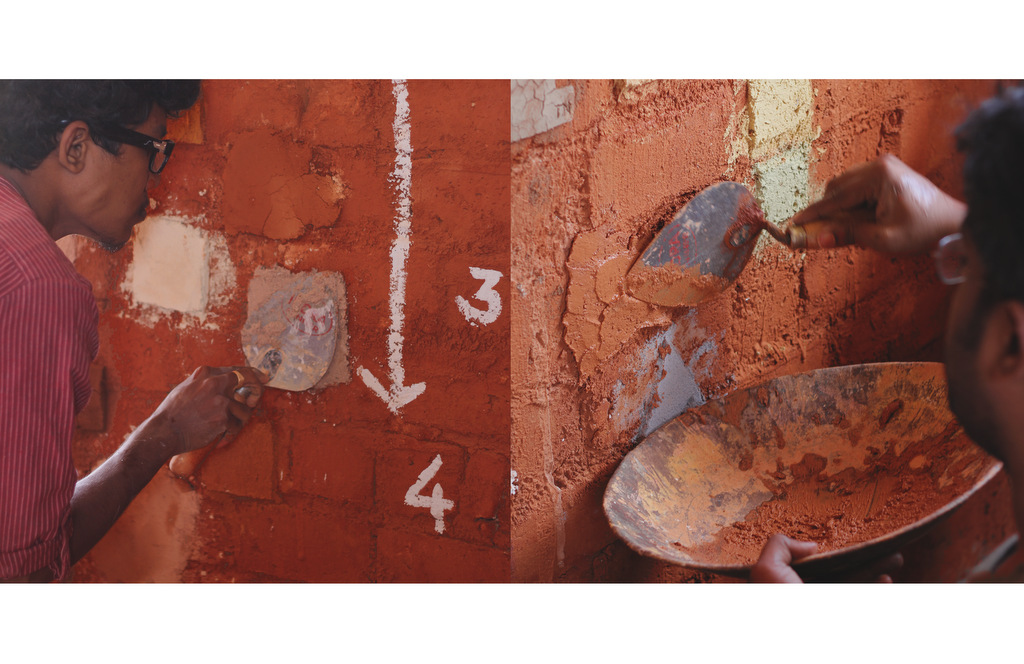
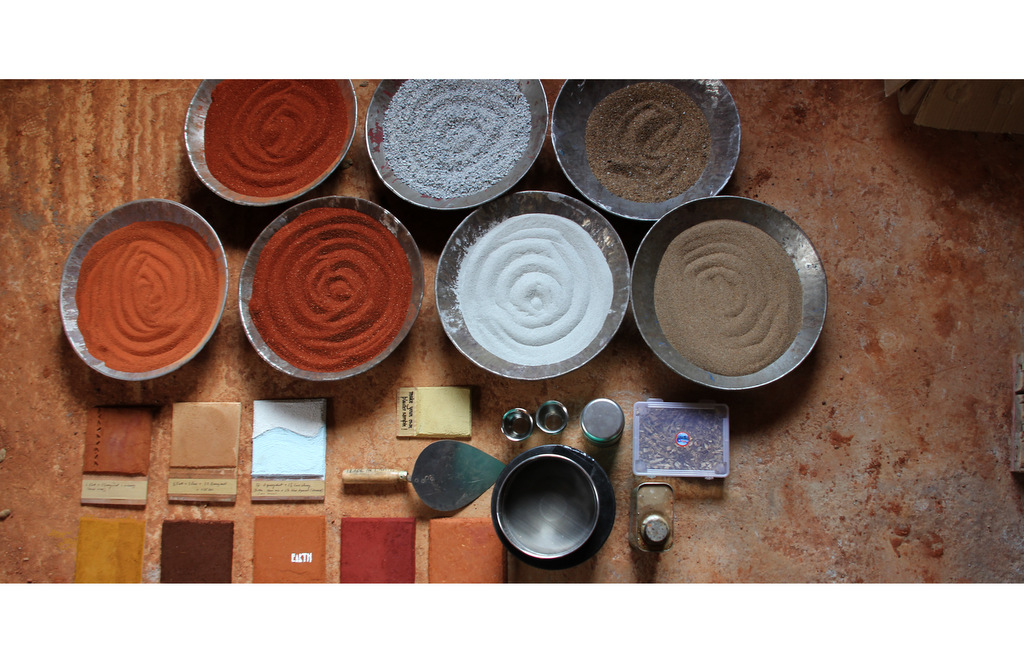
We made a plan; We categorised the ingredients;
For making it easier to experiment;
To Aggregate, Binders, Mass,
Organic reinforcement and added flavours;

02-11
4-36

We needed two dishes, to fulfil our hunger;
One main course and one dessert;
we called it base and finishing,
For it was no regular kitchen;

05-14

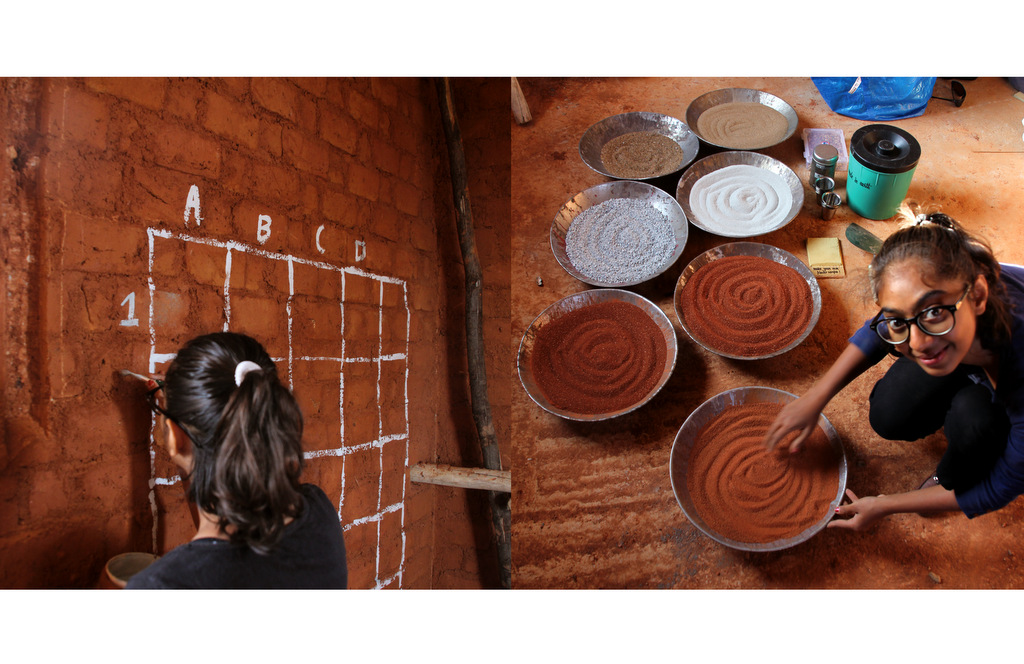
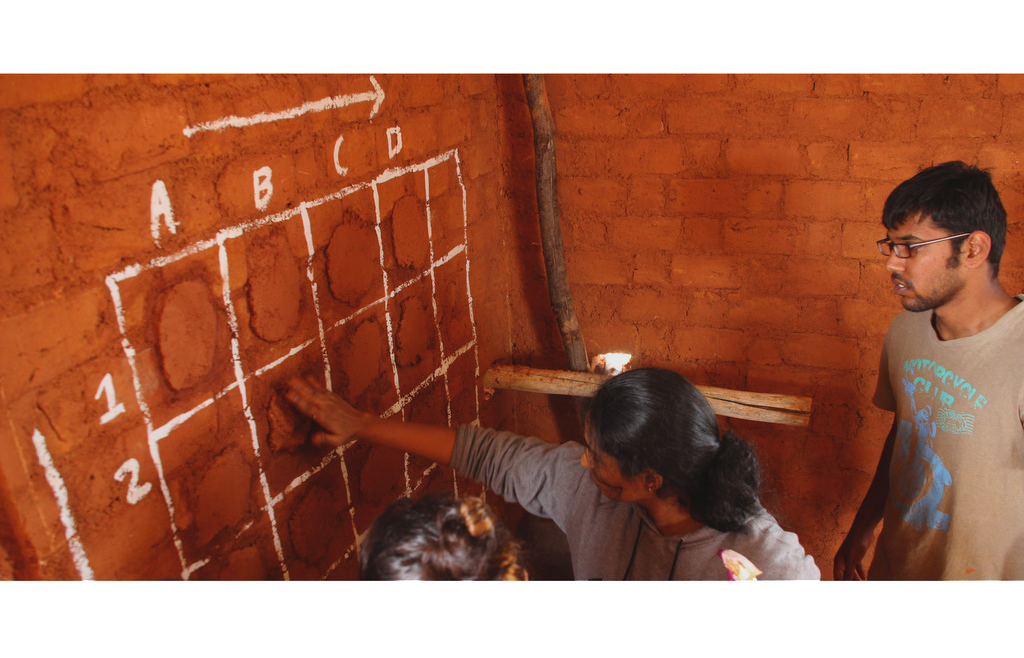
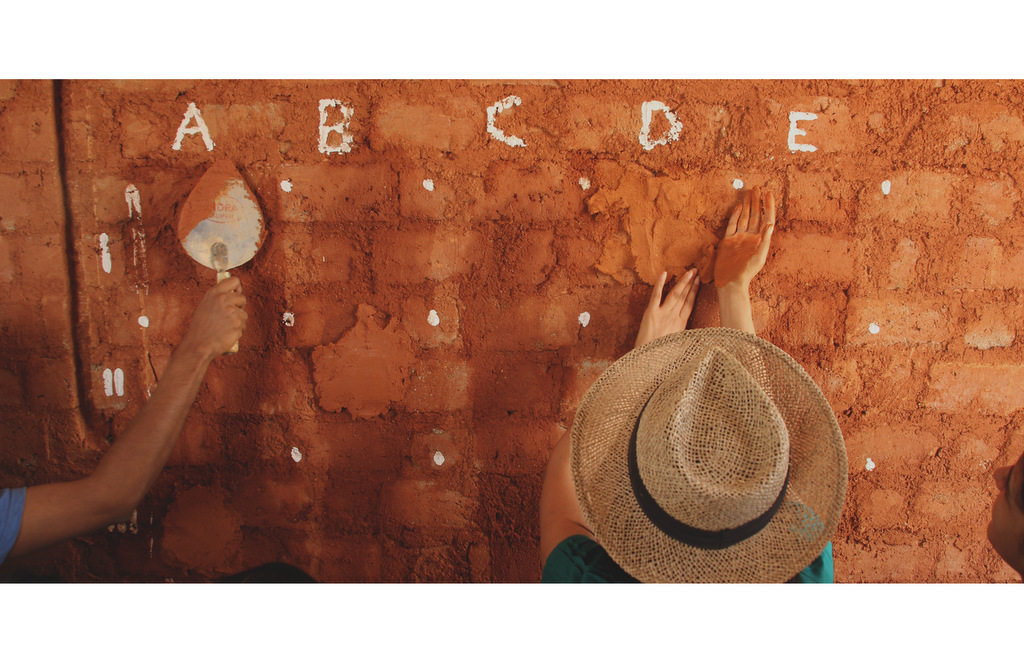
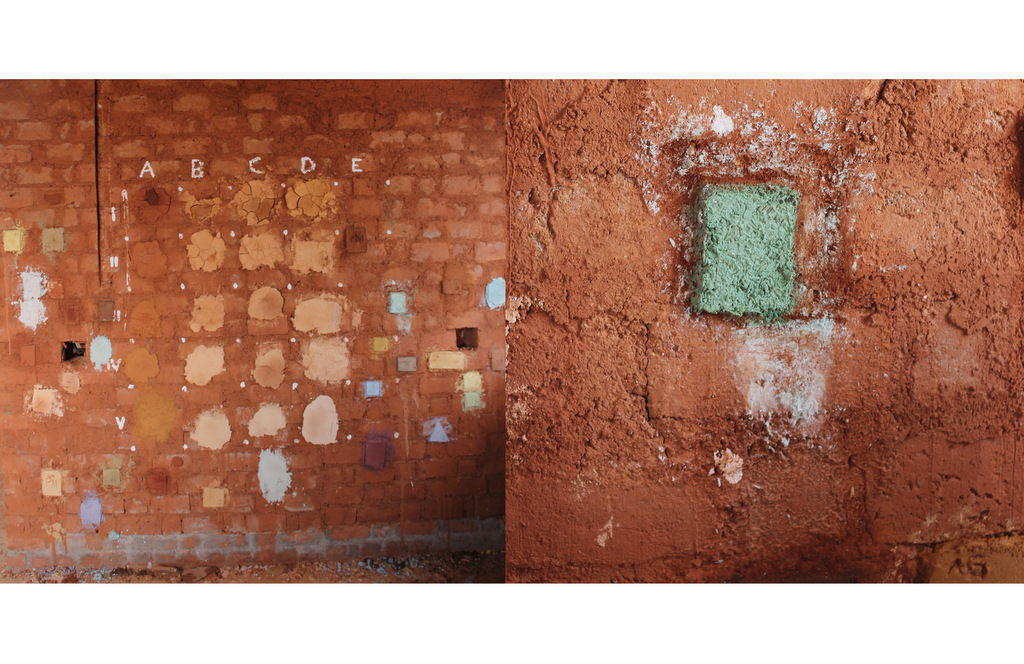
We made a strategy; to get the recipe right;
we drew a grid, kept master-ingredient consistent;
Sprinkled aggregate towards the right;
Added binder down the grid.

5-37
14-22

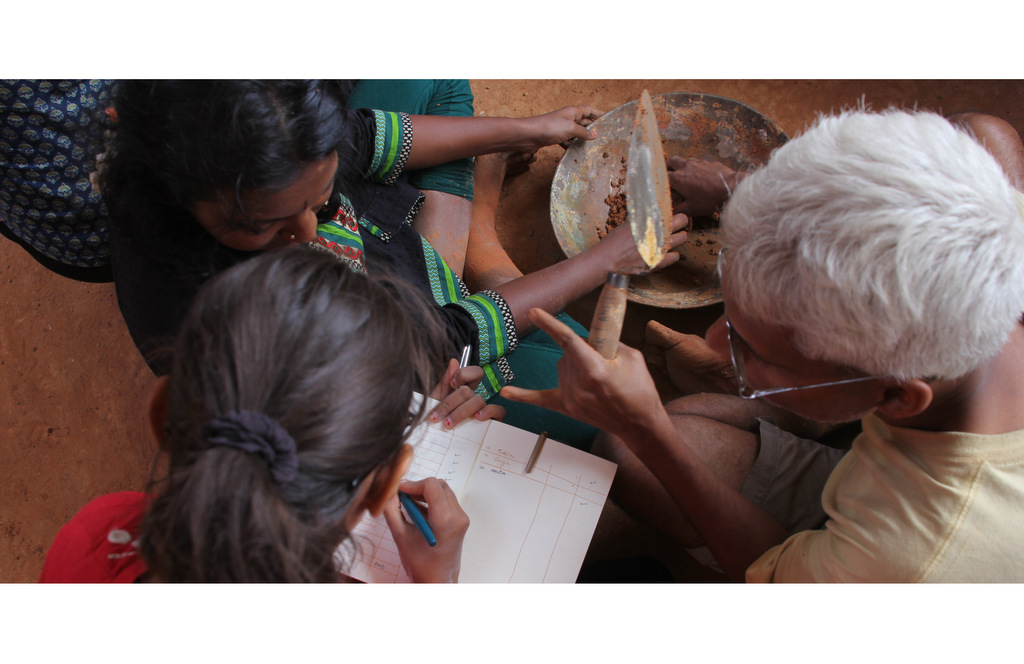
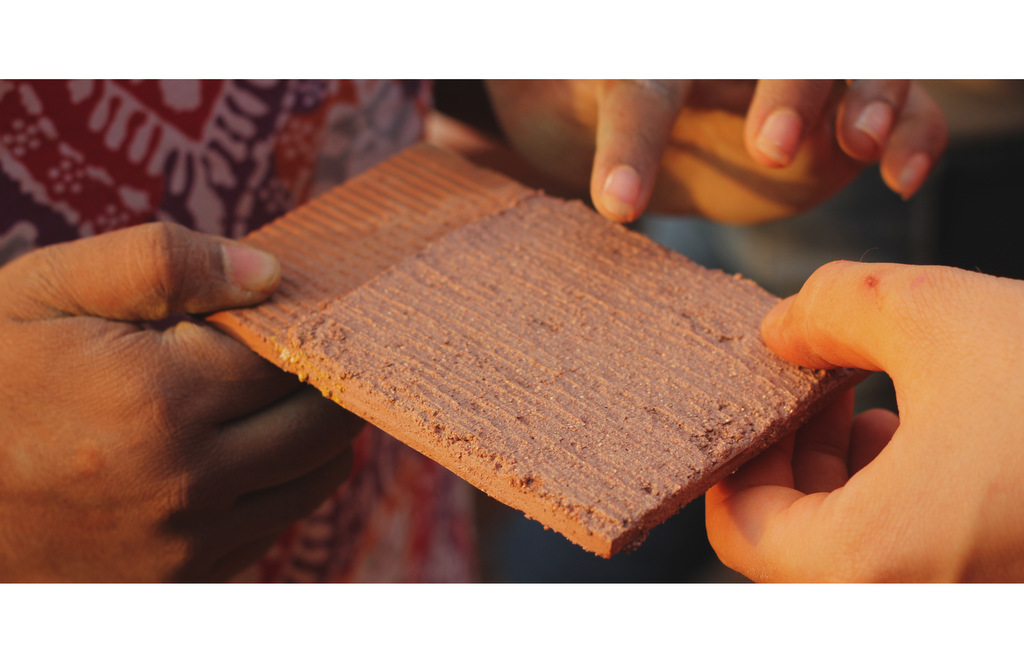
We made experiments; we made recipes;
Added colours and natural flavours
For this food was no regular food;
Like no other food, this food can breath.

2-34

The food can’t crack, nor can it break,
nor can it chip off, and has load to take;
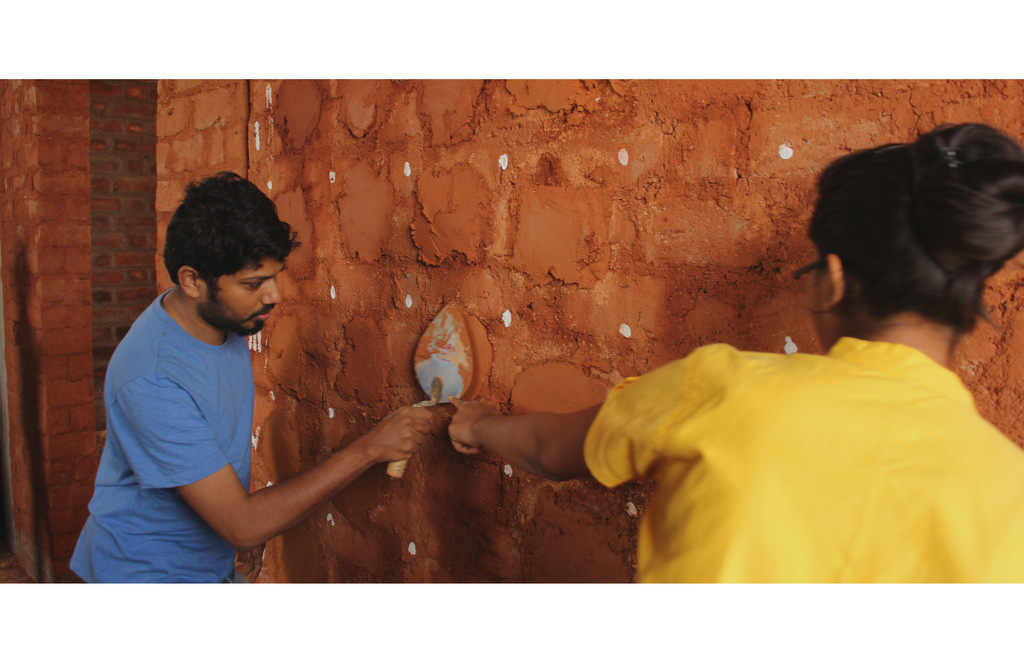
We tested its strength, hanging a bottle or two
For it was no regular food.

12-24 09-29

We made the mix, we got the food
for each one, their own recipe;
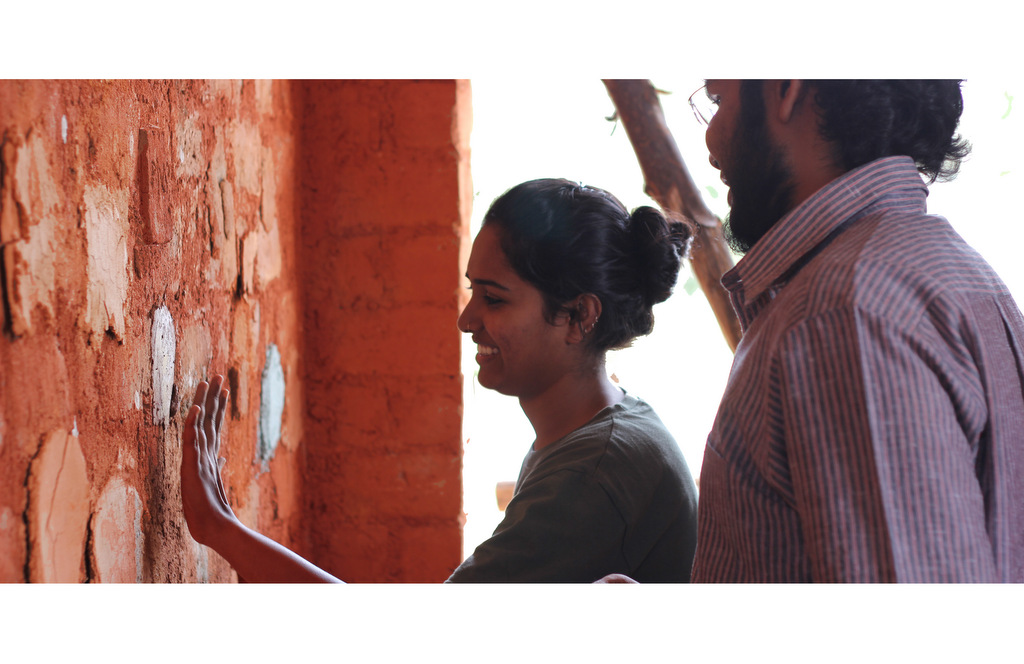
We cared its cracks and loved it a lot,
For it was a food for hunger and not to eat;

10-28 3-35
13-23

It was no regular kitchen,
And we called it the Earth kitchen;
It was no regular food,
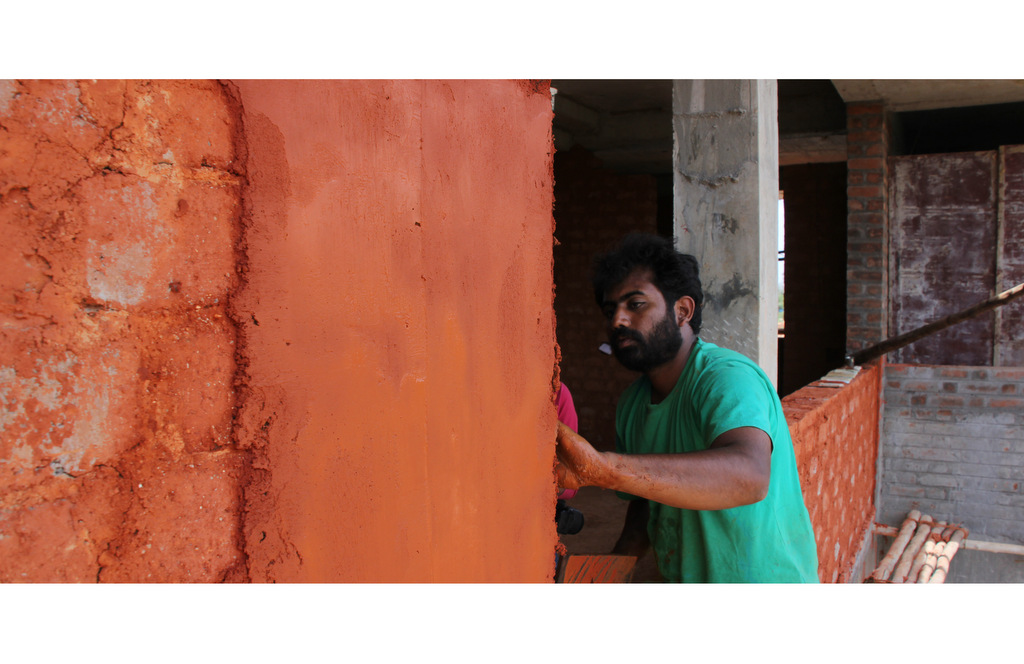
We call it Natural plaster;

15-21
6-38

by Santosh Prabhu,
Team Made In Earth
From a series of workshops on natural plaster held at Bangalore in July 2015


2014 Restoration of a countryside home, France, Adobe, Blog, Earth Floors, Earth Plaster, Lime Plaster, Natural Plaster, Tadelakt

Making an earthen floor

Most people often remember earth as a crude material; it’s plain looks that are so contrasting from the aesthetics of finished industrial products. But the irony is that the principle virtue of this material lies in its aesthetics, one that is natural, subtle and simple, adapting itself to the diversity of techniques, cultural aspirations and skills; sometimes in response to tradition, while sometimes contemporary. Along with the artisans from Inventerre, we used earth for a completely different purpose…earthen floors! Today we tell you how it was made :
1-Earth Floor

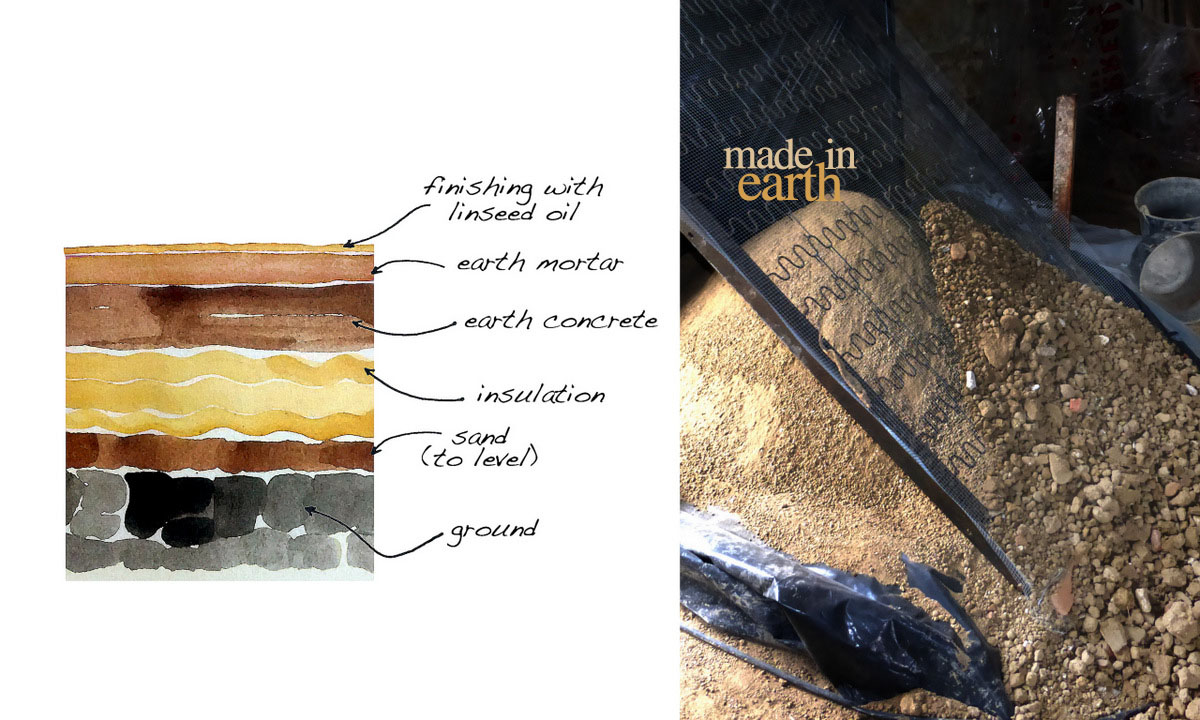
You are probably wondering : “Which layer did they stabilize? Where is the cement?”. There is no cement, no lime, no bitumen! Only earth and linseed oil!
1. First the floor was dug and leveled with a layer of 3 to 5cm of sand.

2. Next, a 10 cm of cork board was laid for insulation purpose. Cork is a very interesting material in Europe for foundations since it is water proof, resistant to humidity and dense enough to carry some weight.

Earth Floor

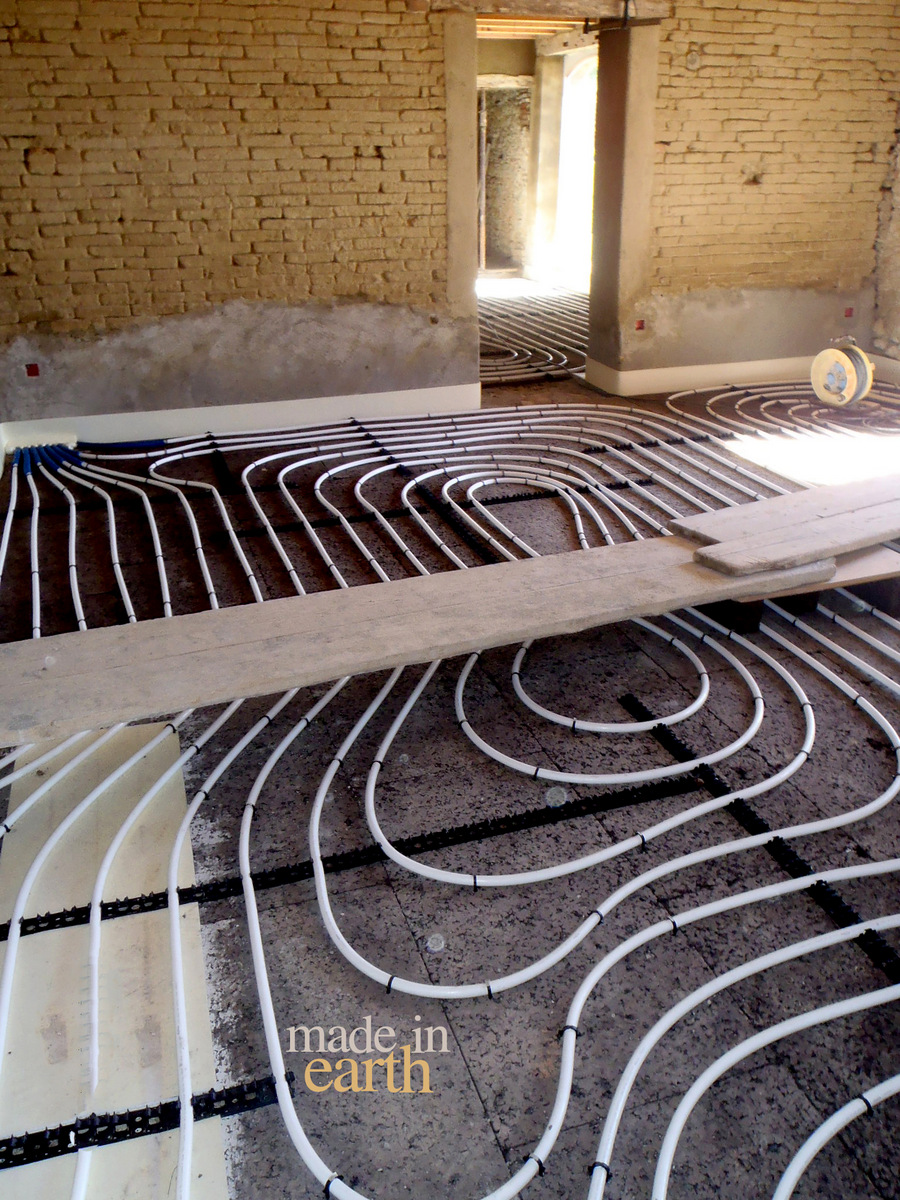
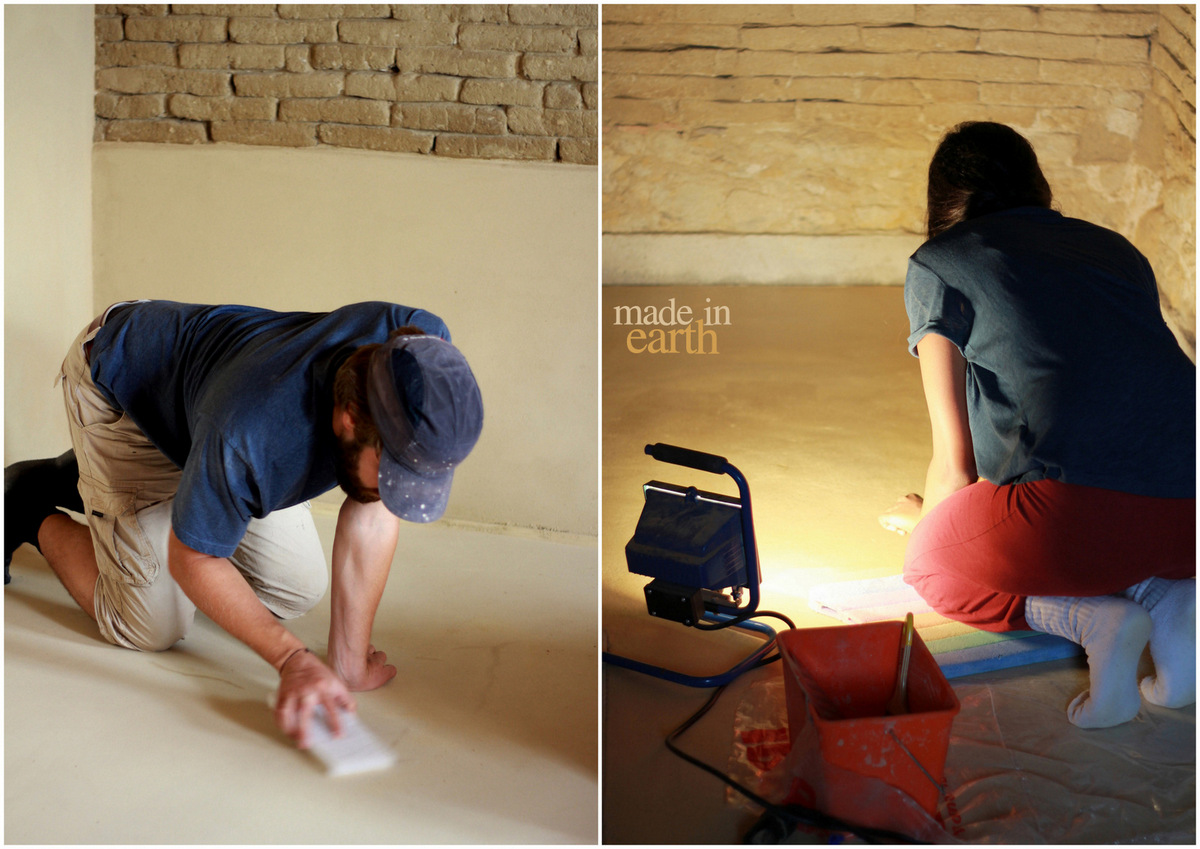
The building heating system is done through the floor. Pipes are fixed on top of the cork and will be “trapped” in the slab to get the best inertia. As you can see on the photo a compression seal was also laid at the point of contact between the slab and the wall to avoid cracks and movement due to the changes of temperature of the floor complex.

3. Then comes the earth concrete. There is a debate with the word “Concrete”, we like to say that concrete is just a mix of aggregate together with a bonding agent and water. Therefore earth mixed with water is a concrete. Clay particles play the role of holding the aggregate together to form an solid mass.

Several layers of 5 cm mix were applied and then rammed to reach a final slab thickness of 11cm. The mix is composed of : 3 vol of calcareous gravel + 2 vol of earth + minimum of water to reach a semi-plastic state. Each layer is rammed by feet first and then with a ramming machine.

Water is your best friend and your worst enemy when building with earth. Put little less and you won’t get any cohesion, put a little extra and you will have fissures. Even though we put a minimum amount of water, we had to wait 3 months for the entire volume to dry! It is not like cement which will react with the water, here most of the water needs to evaporate till the earth mix has found its water balance with the surrounding materials and the air.

Laying an earth floor

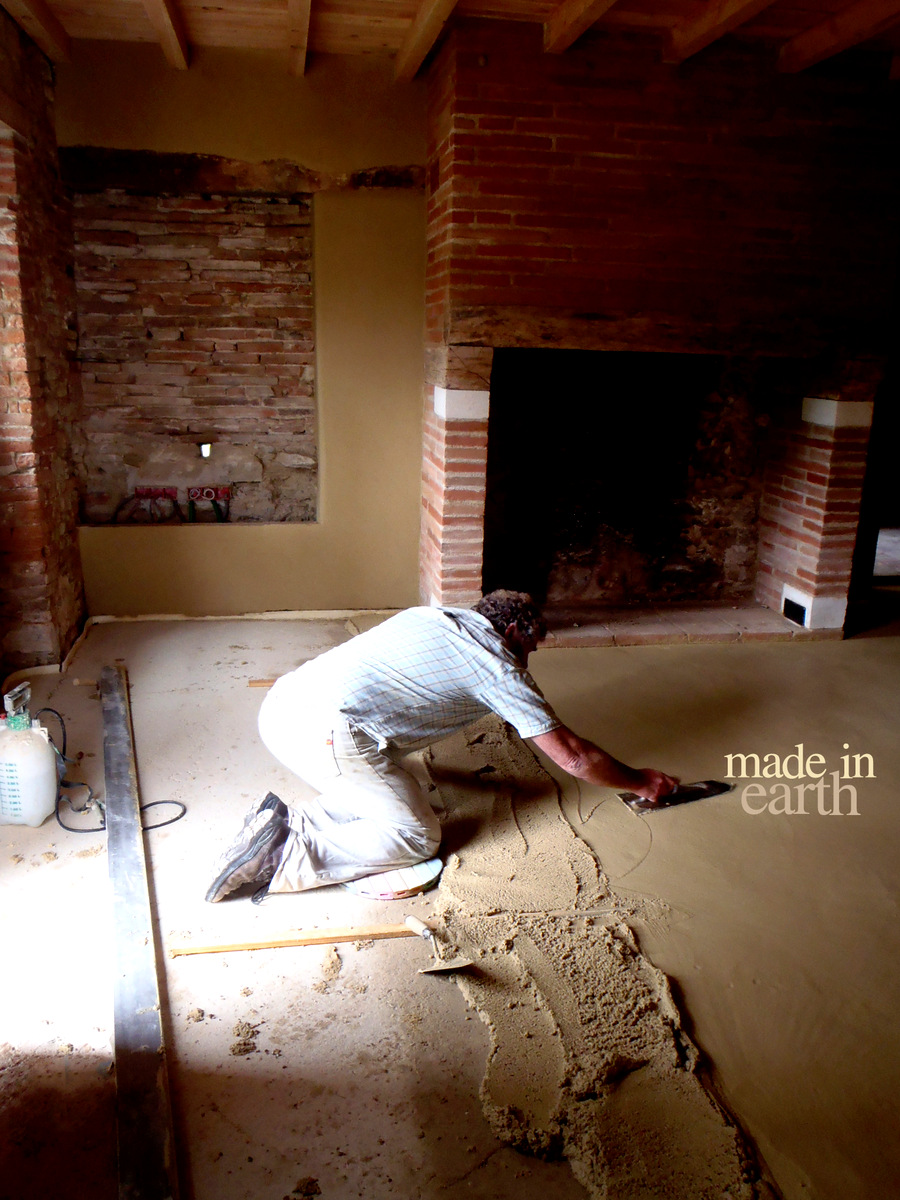
4. The earth mortar is the final layer. It is around 1.5 to 2cm thick and is composed of 4 volumes of calcareous sand (0/4) and 1 volume of earth. It is the layer that will be seen and needs to be “perfect”, the slightest crack is filled and fixed before the final coating.

Finishes

Earth floor laying

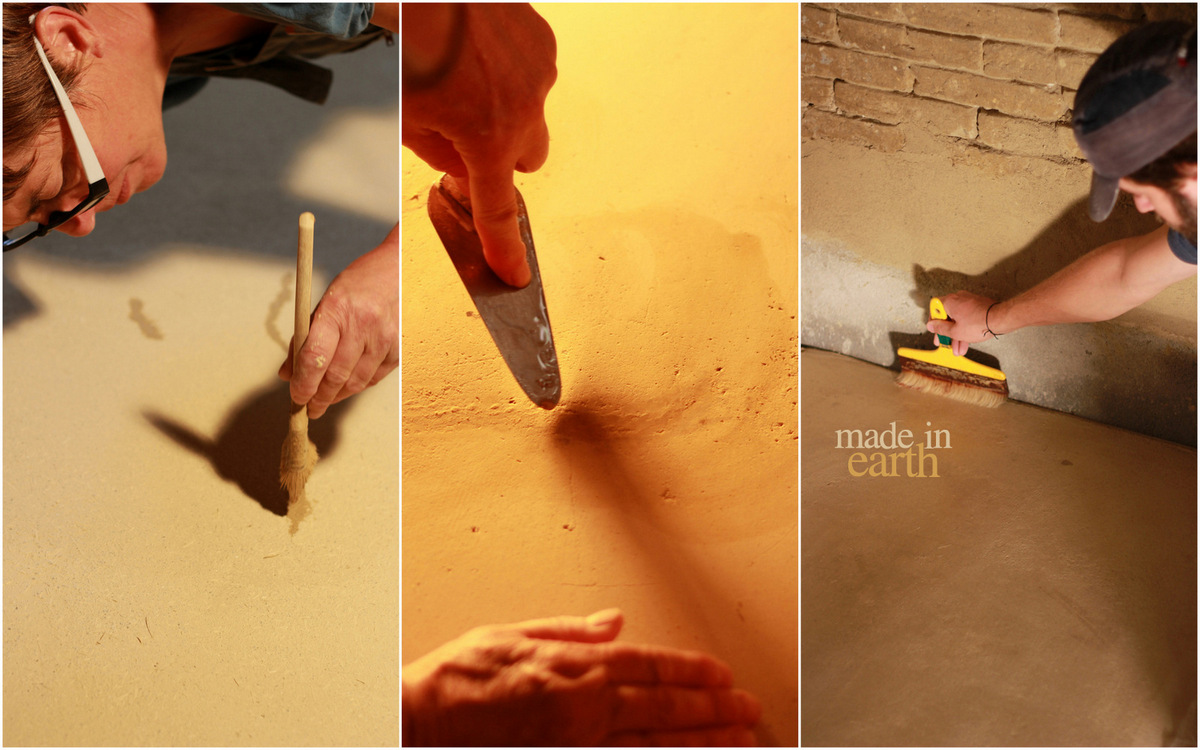
5. Linseed oil is then applied 4 to 5 times to give rigidity to the floor surface and to make it water proof.

Je and shru

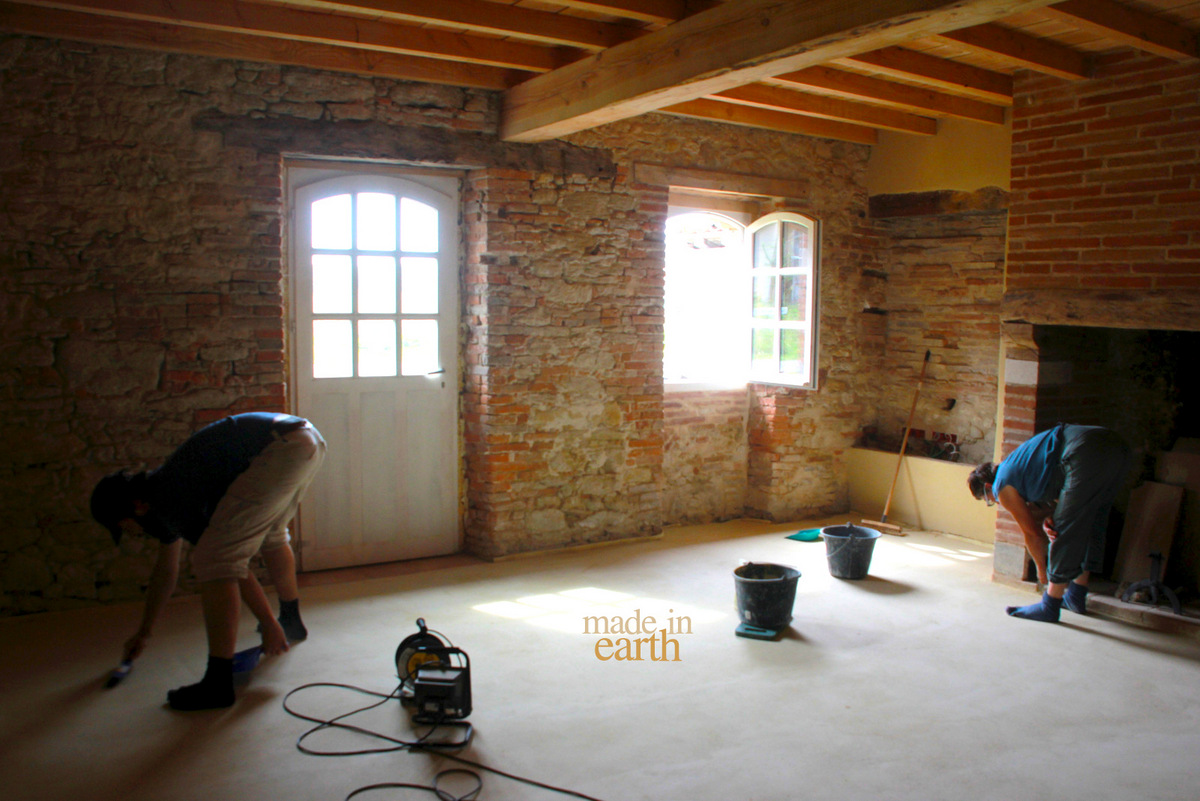
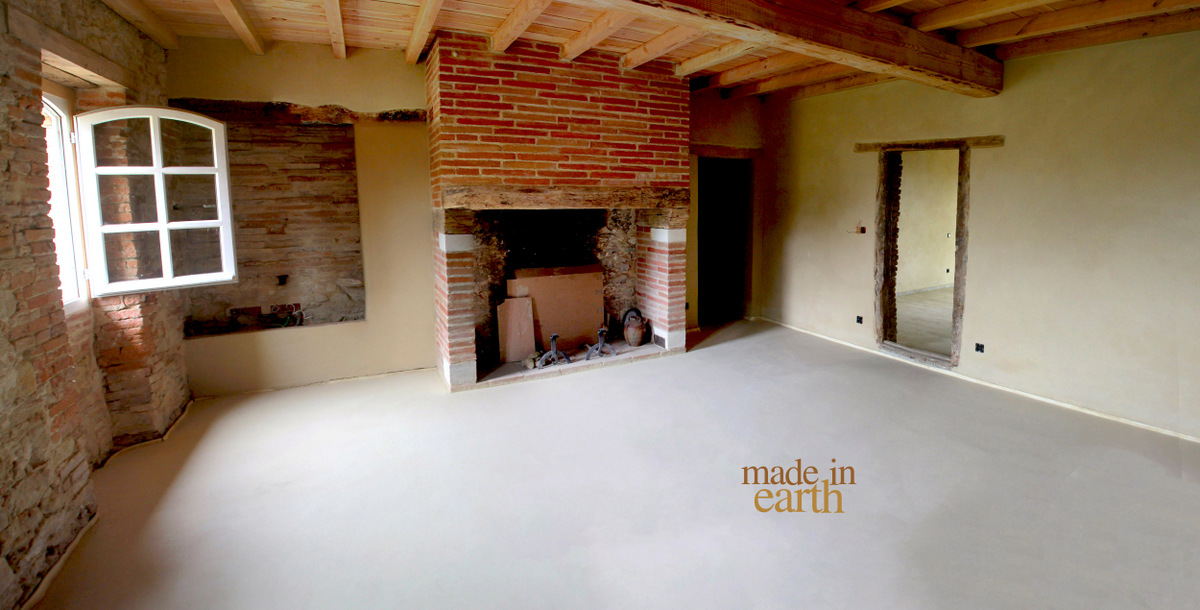
It is impressive to see that after applying the layers of oil, you can wipe the flour with a wet mop without altering the surface at all! Here is the final result!

7-Untitled_Panorama1

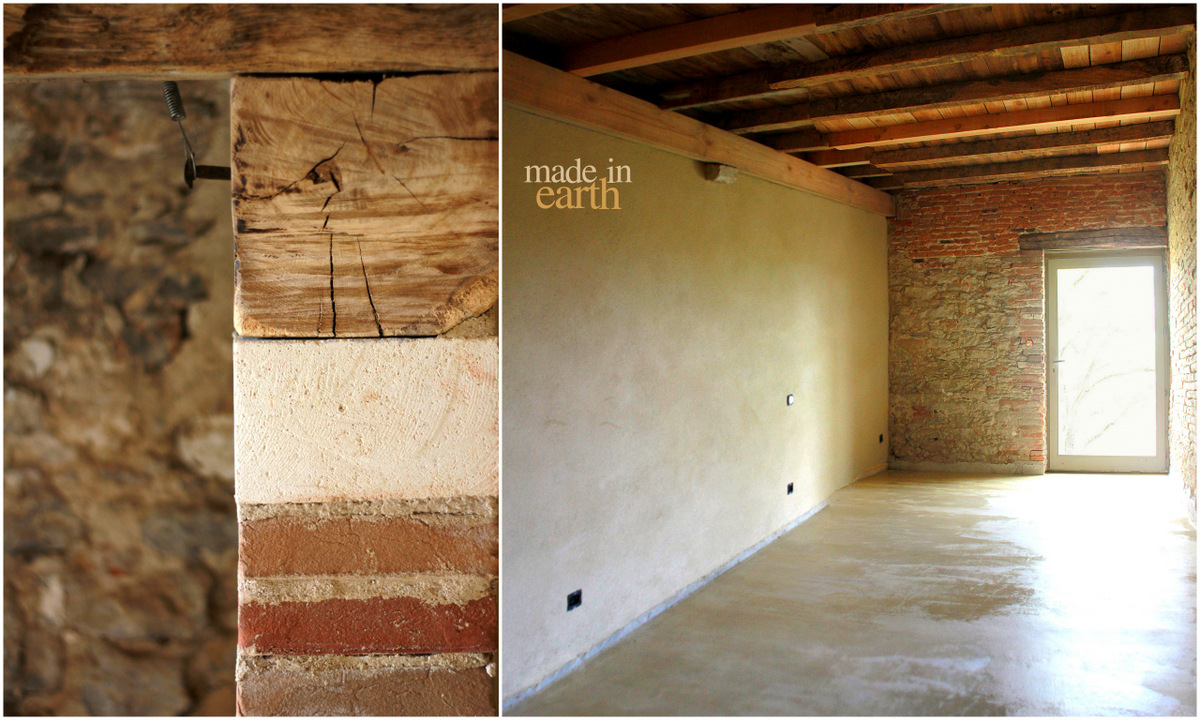
This is a restoration project of an old countryside house. The restored adobes, stone and cooked bricks and the wood are brought beautifully together by the earthen floor.

6-madeinearthband1

You have to really want an earth floor in your house. It may be most ideal for living areas, reading rooms or bedrooms while kitchens and other wet areas could be a challenge. Remember that having an earth floor in any part of your house requires a special attention. It is sensitive to shocks and point load. The linseed oil coat has to be renewed every once in a while to make sure that the floor does not take any stains. If you would like more information about earth floors, please write to us

Who is Inventerre? coming up soon.

2014 Chenelet Homes, Blog, Earth Plaster, Lime Plaster, Natural Plaster, Workshops 0 comments on Earth is a forgiving material

Earth is a forgiving material

Plaster in Chenelet01

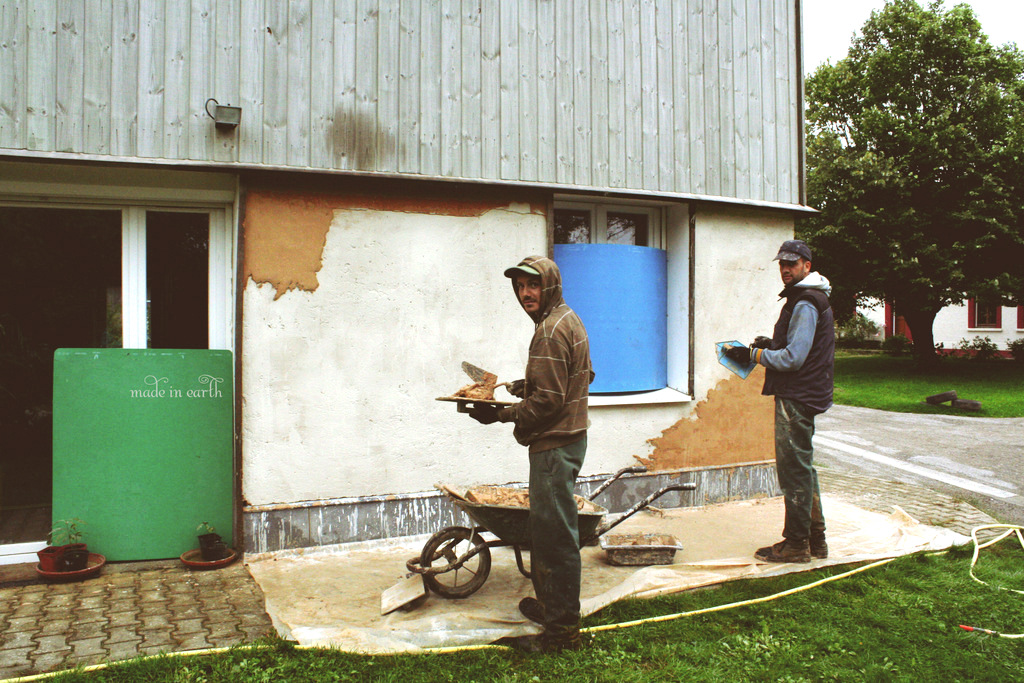
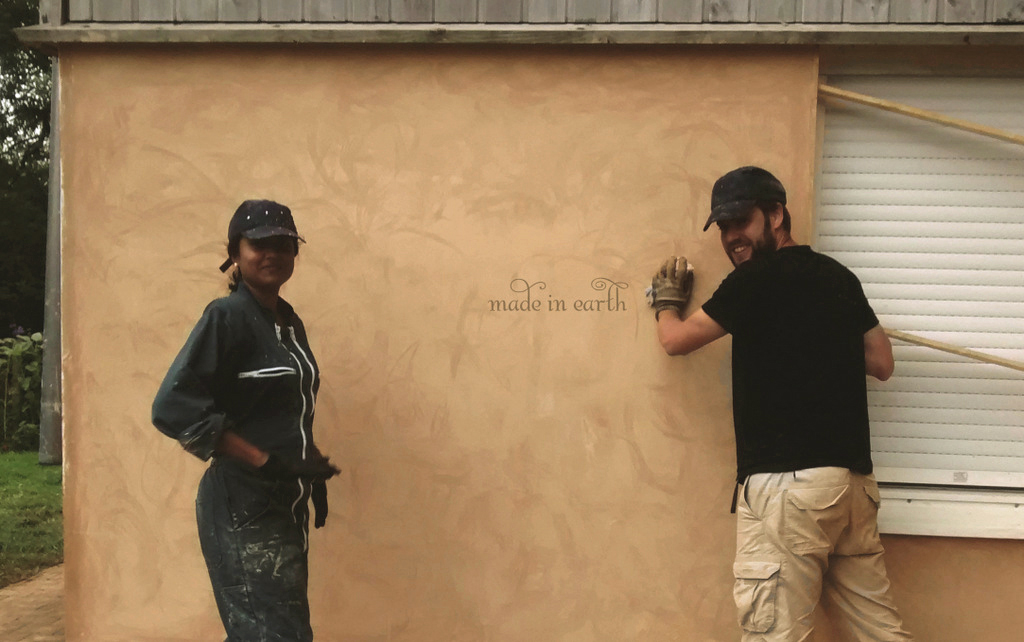
In the summer of 2014, the community homes at Chênelet in the North of France, received a make over. Our 10 day mission was to coordinate and train a team of 6 employees from Chênelet to restore 80 sq metres of plastered earth walls.

Hidden in the countryside of Nord-pas-de-Calais, Chênelet is an association that supports unemployed people and persons from socially difficult backgrounds to train in areas of their interest. Their training period usually lasts from 6 months to 2 years. Thanks to the work and access to basic needs, they are able to regain their dignity and their place in society. After their training period, they find employment in the regular sector and sometimes even start practices of their own. Through this objective of employment and training, Chênelet has developed activities that create an integrated value chain in the region : organic farming, forestry, processing of the local raw materials (timber, organic fruits, vegetables) and construction of ecological social housing with the use of local building materials like timber, earth and residues from the mining industry.
Plaster in Chenelet02

[Benjamin and Amin work together on the west facade]

The 6 trainees we worked with this summer were interested in moving forward with their career in the building sector. They received a week-long training in earth plastering techniques at the site of the Chênelet homes.
03-Chenelet Earth plaster Homes copy
06-2014-08-Enduits photos Shru2 copy
Plaster in Chenelet03

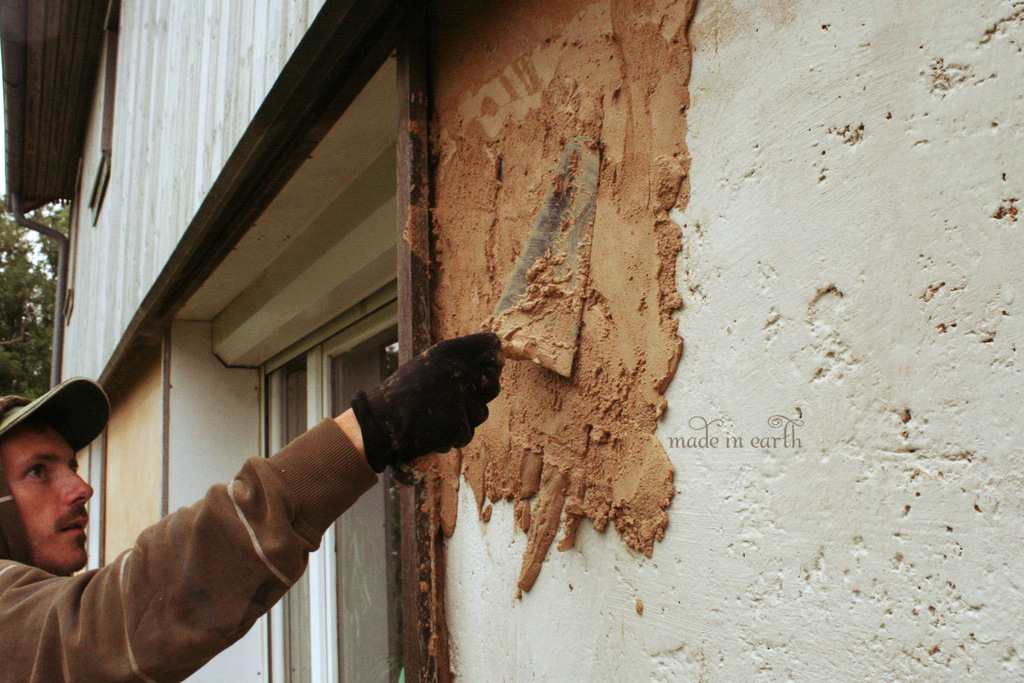
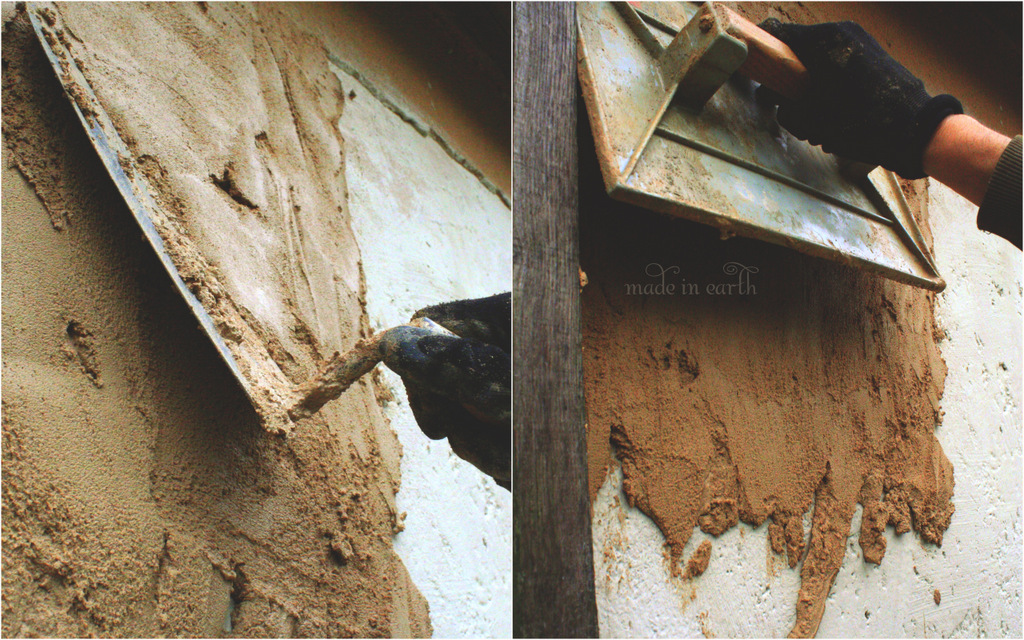
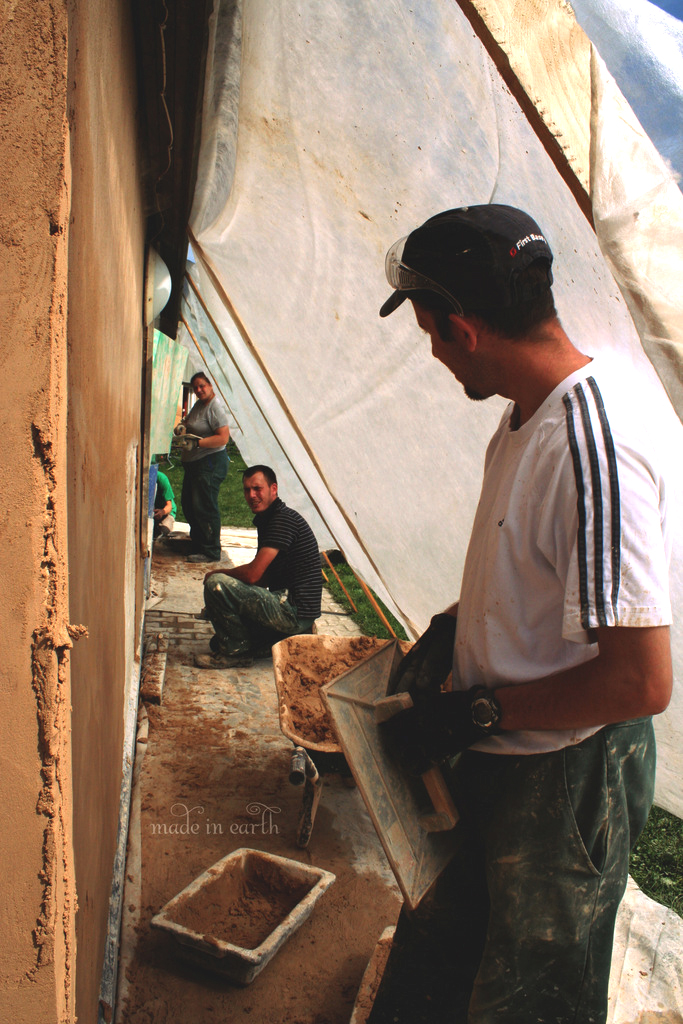
The walls of these houses are insulated with a mixture of lime and wooden chips which is protected with 2 layers of plaster. The first thick layer is made of linen/flax plant straw, lime, earth and sand that creates a support to receive the next layer.

The second layer is the “finishing”, that protects the wall from rain and shocks. After 15 years, it is this layer that required a “face lifting”.

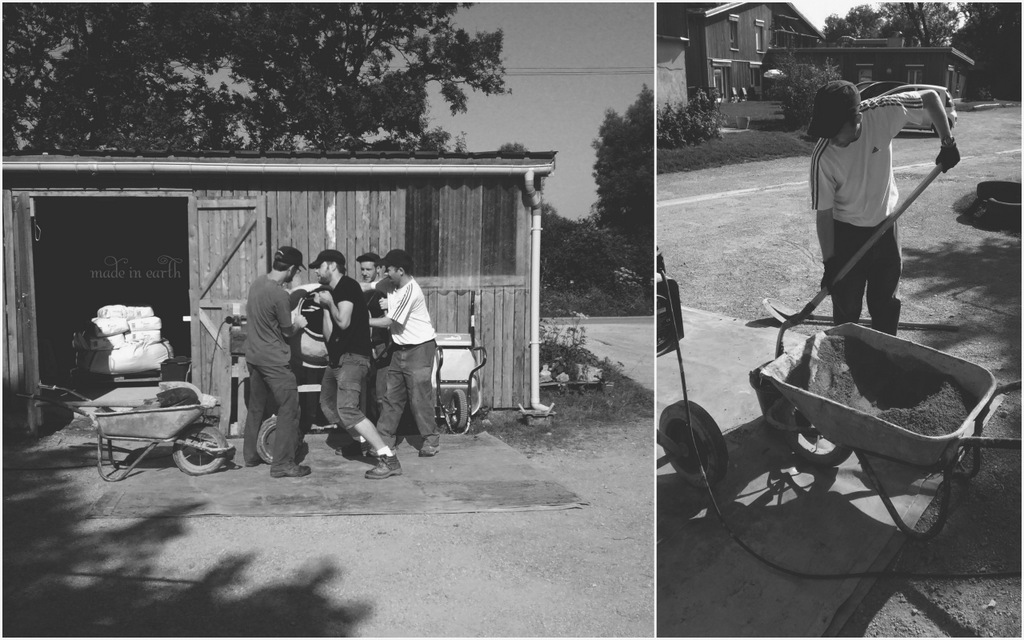
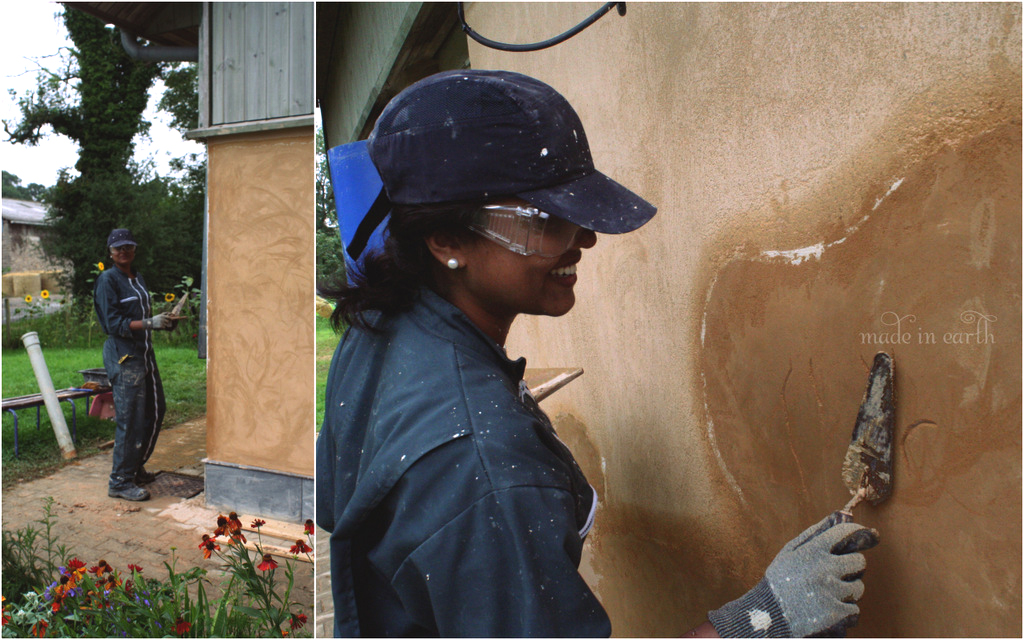
The tough weather conditions in this region of the North made it necessary for us to use a considerable amount of lime in the plaster.  We used a mix of NHL 3.5 lime, earth and fine river sand, to obtain a smooth finishing layer of 5mm.
Plaster in Chenelet04 Plaster in Chenelet05

[In July the sun was surprisingly hot in “Pas-de-Calais”, we had to work under a shade net to make sure that neither us nor the plaster dry too fast!]
Plaster in Chenelet06

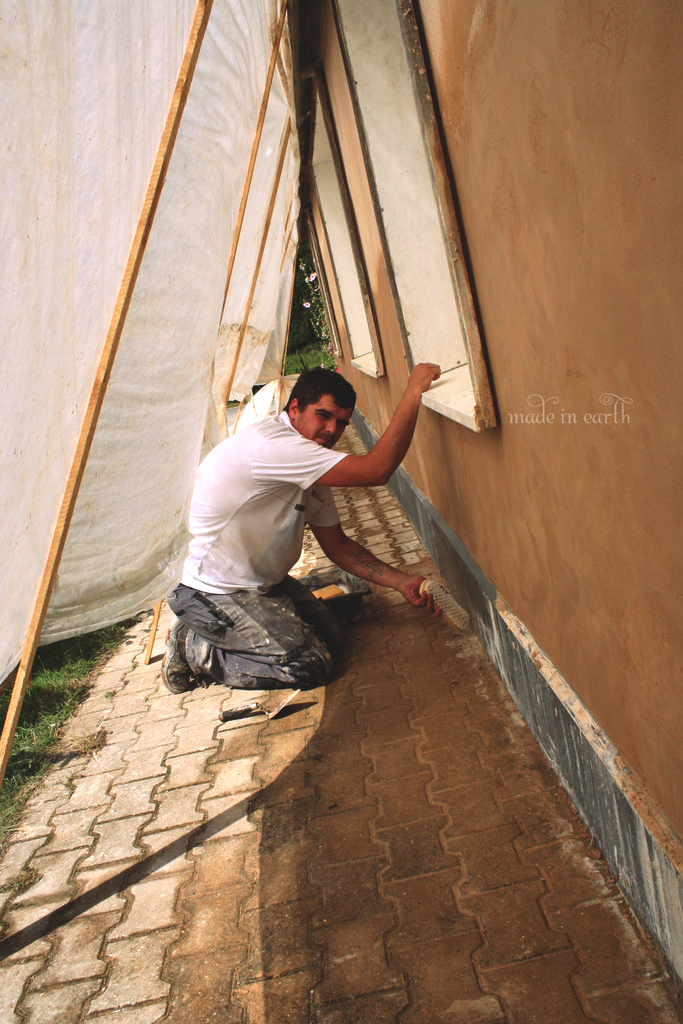
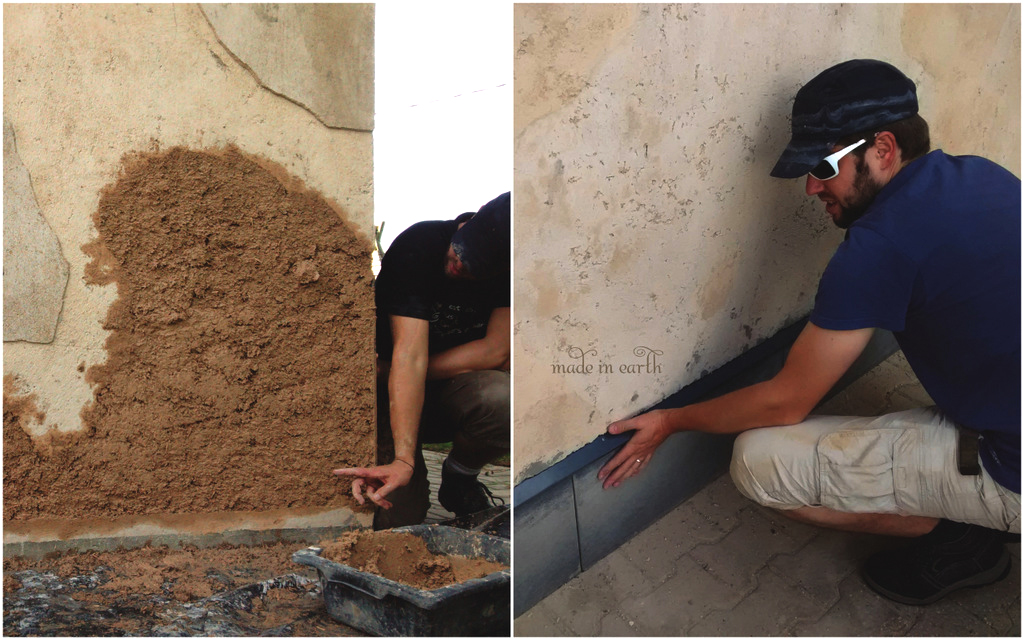
We had to redo the first layer in some patches with linen/flax plant straw mix. To ensure durability, we decided to protect all the houses with stone tiles which we placed at the bottom before putting the finishing layer.
Plaster in Chenelet07

Plaster in Chenelet08

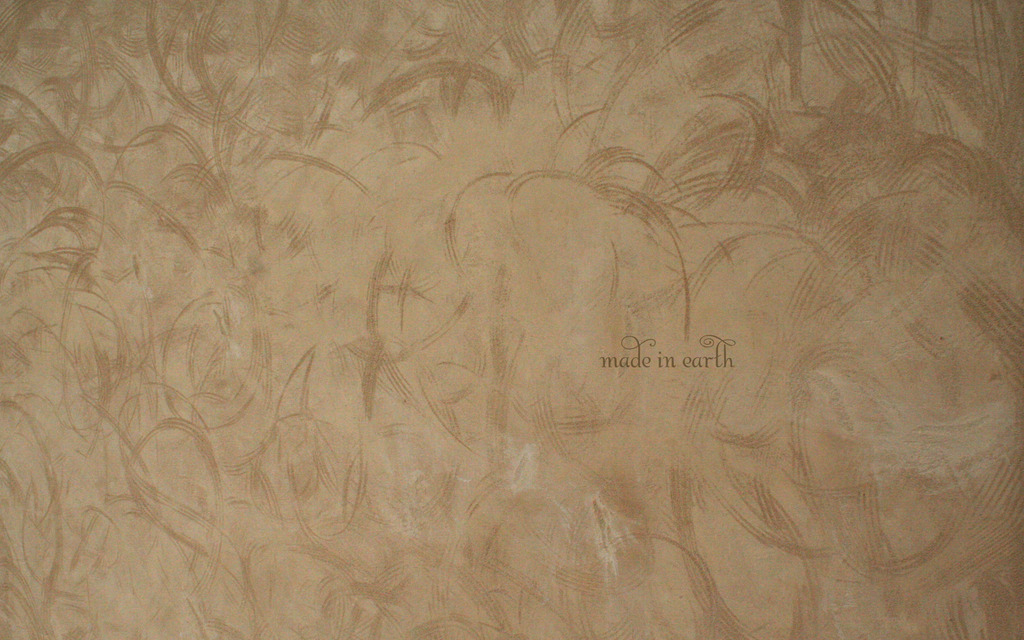
[A nearly finished wall surface of the south facade, the beautiful waves show the movement of the hands while preparing the layer]
Plaster in Chenelet09

Those 10 days were intense!
All the 6 participants worked with earth for the first time, they had only worked with conventional building materials before like cement and sand. We were amazed to see how quickly they caught the technique; ” It is not the same! It is much more soft!”, ” It feels more natural” , “It is a forgiving material”. Everyone felt that working with earth was much easier, pleasant and non-toxic as compared to cement plastering.
A great team spirit grew over the weeks and they were all very enthusiastic about what they had learnt, eager to share and spread this interest in the companies that they will join later!

A plaster that breathes, regulates temperature and humidity inside the building, absorbs both noise and odors and that ages beautifully with time. Add to that the infinite possibilities in aesthetics; Coloured or Natural, smooth or grainy, regular or patterned, contemporary or rustic; earth plaster is  irresistible! The method is simple and fun, you can even do it yourself!

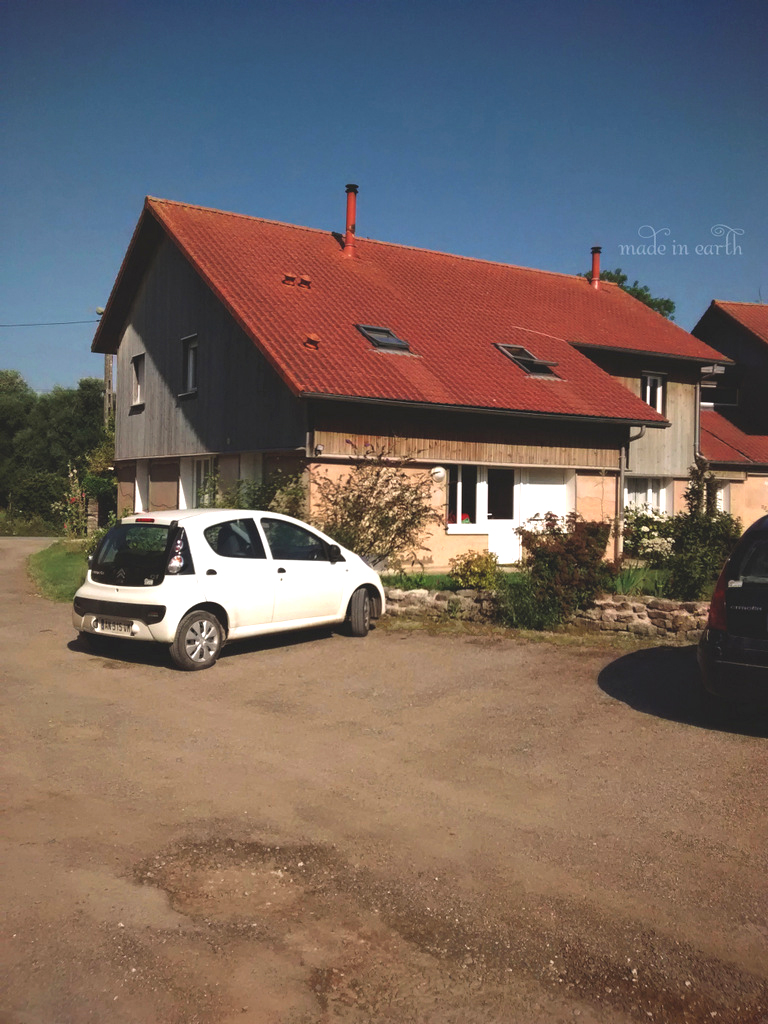
We will leave you with a photograph of a beautiful Chênelet home in the sun.
Plaster in Chenelet10

Handmade with care, handmade in earth.